


Back to: Complete Jobman Set-Up Guide for Administrators
What is a Price Matrix?
By default when you create a material, the pricing source will be set to unit pricing; you set the item price & units per item to determine the unit price (or vice-versa) and Jobman will calculate the total cost of the material based on the quantity required.
By switching the pricing source of a material to price matrix instead of unit pricing, Jobman is able to dynamically calculate the cost of the material based on specific combinations of attributes, such as size, thickness or quantity.
Price matrix materials will automatically have their price calculated at the point they are added to quotes and purchase orders, or when one of the specified attributes is modified.
Price Matrices can be particularly useful when:
- Your supplier prices materials based on dimensions like length, width or depth
- You sell materials in multiple sizes and each combination has a different price
- You want to adjust material unit pricing based on the quantity being ordered
Creating Price Matrices
To create a price matrix, follow these steps:
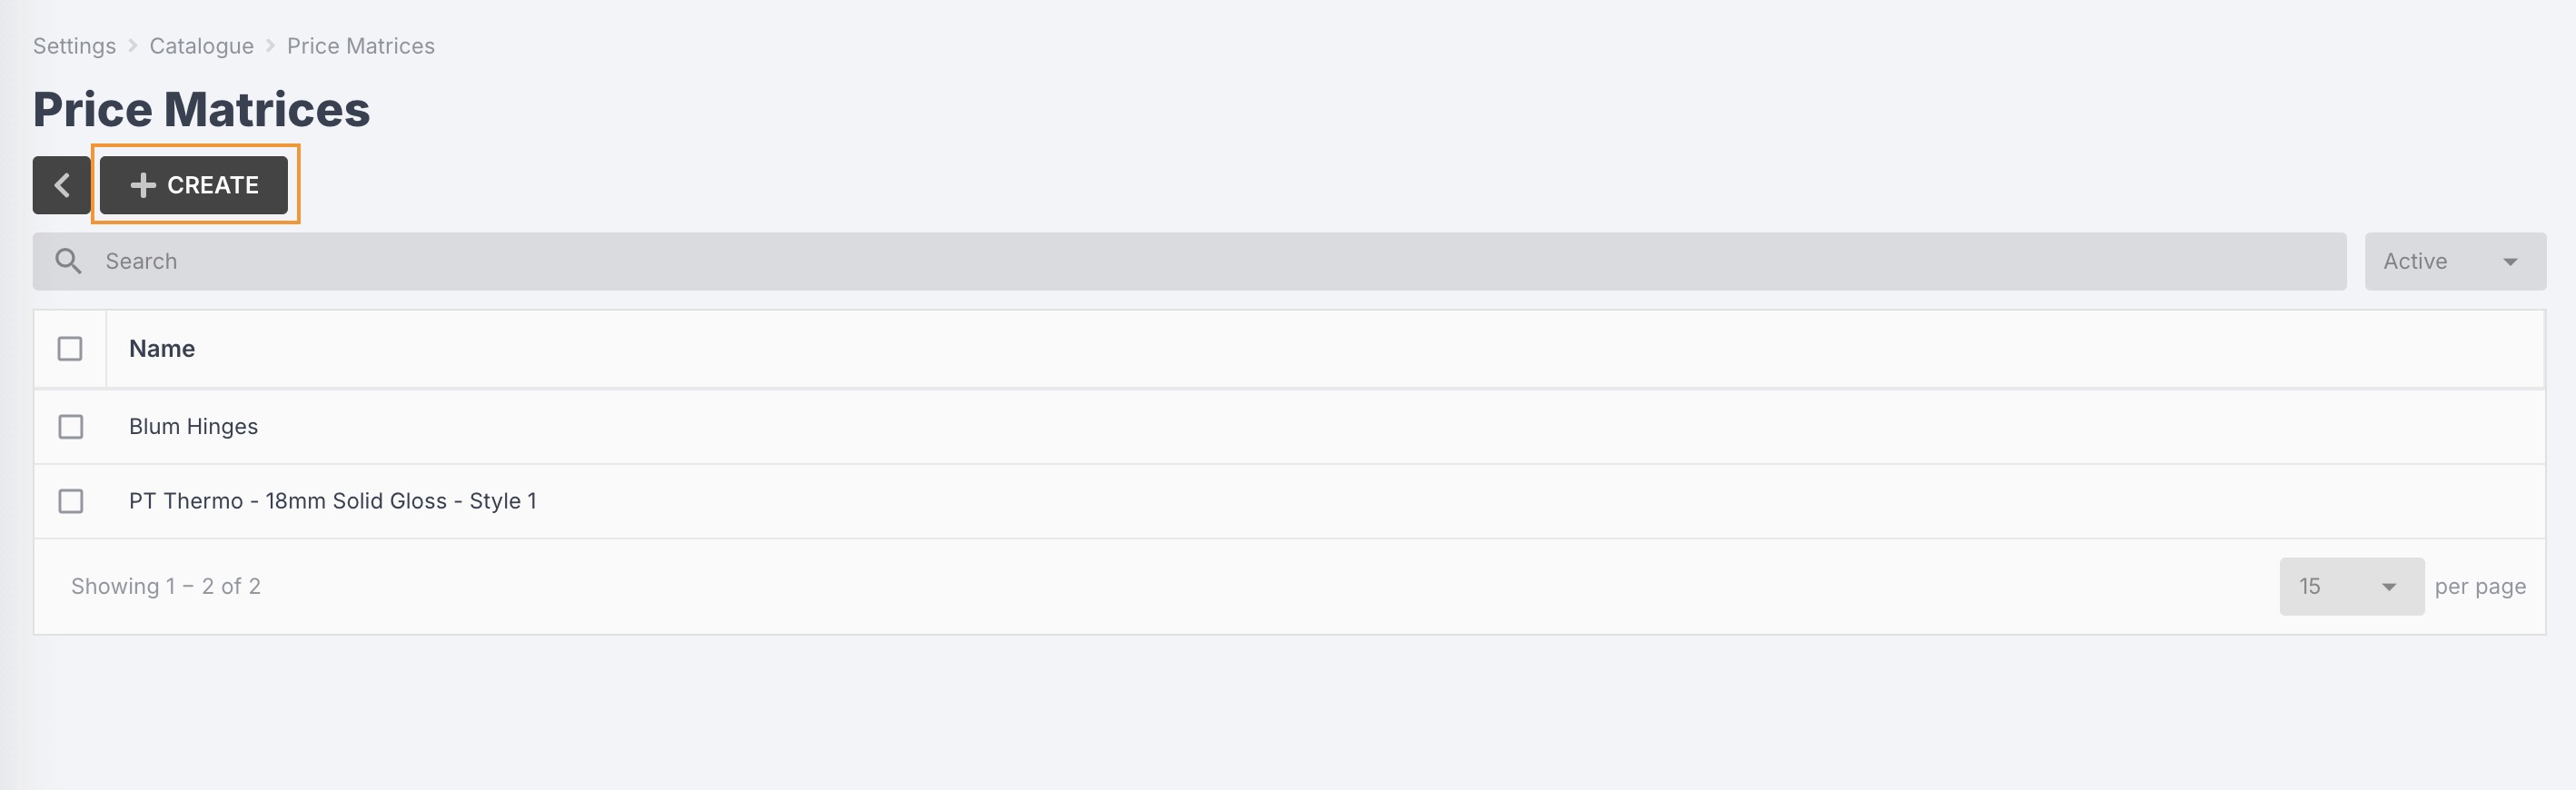
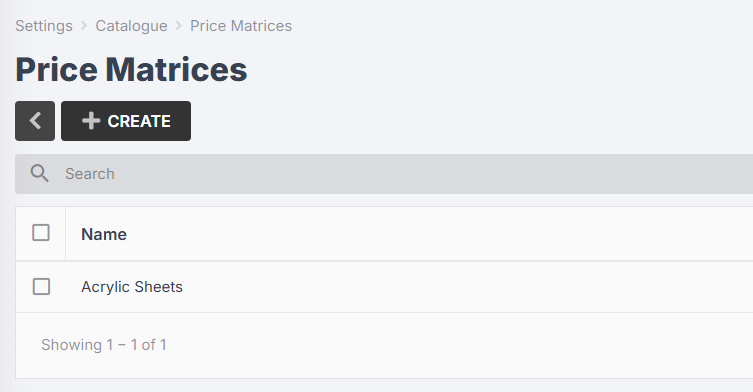
- Navigate to Settings > Catalogue > Price Matrices.
- Click Create:
- Enter the name of the price matrix, e.g. “Acrylic Sheets”.
- Select the attribute and unit of measurement (optional) to use for the top (horizontal) axis and side (vertical) axis:
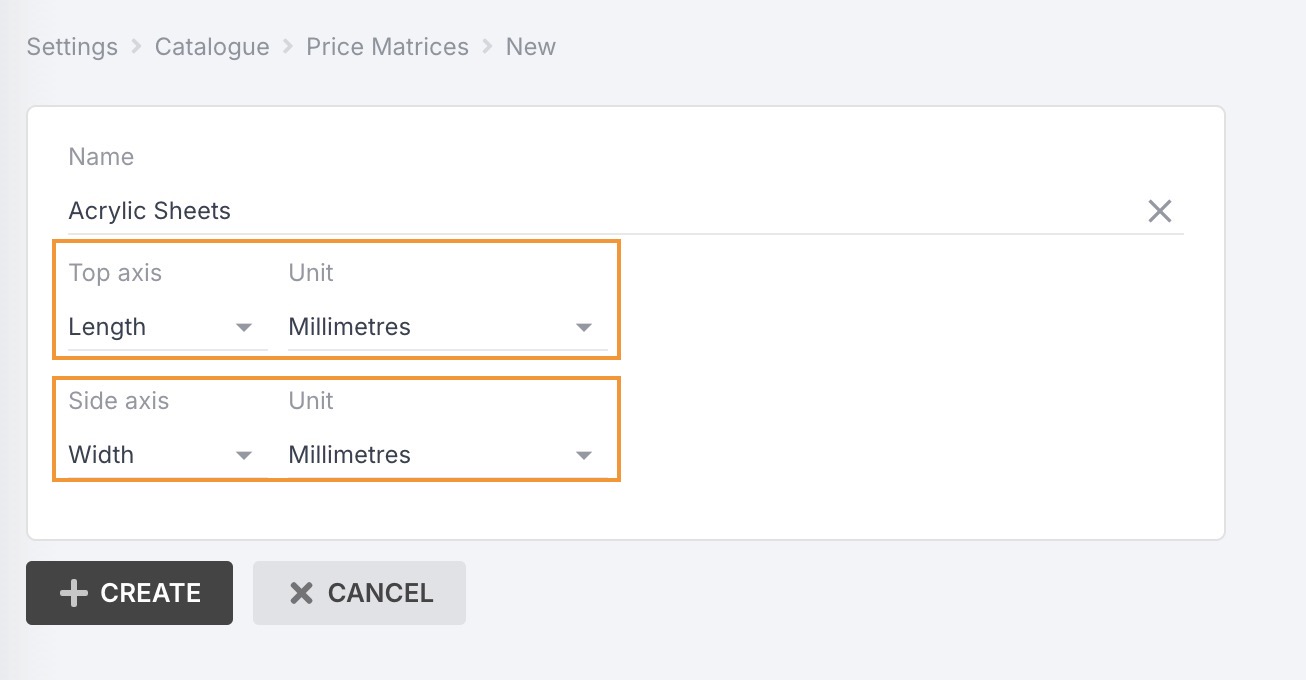
- Click Create.
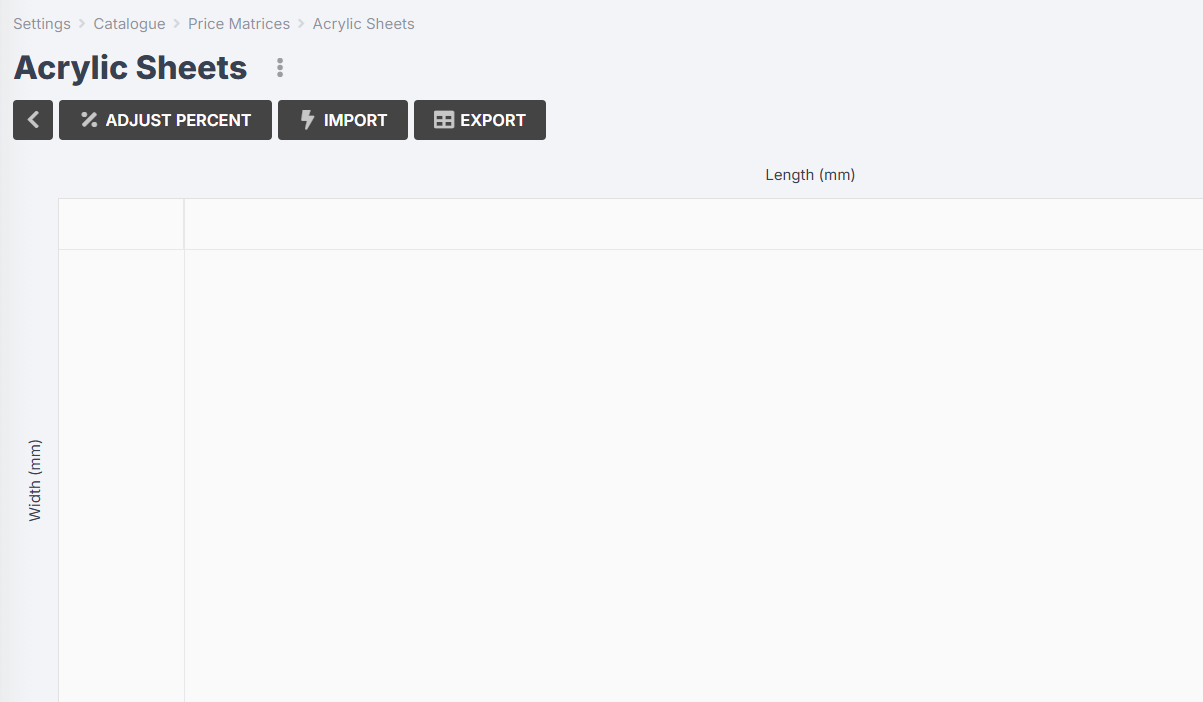
Once created, you should see an empty grid with the top and side axis that you selected in the previous step:
Updating Price Matrix Prices
You can update your price matrix pricing using a simple CSV import.
If you are editing a price matrix with existing pricing, you can first export the prices and open the CSV in a spreadsheet application such as Excel or Numbers, make your changes, then re-import.
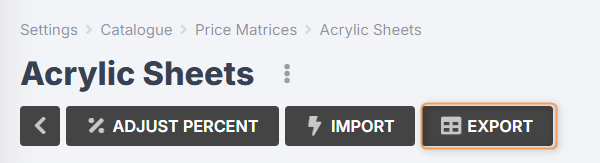
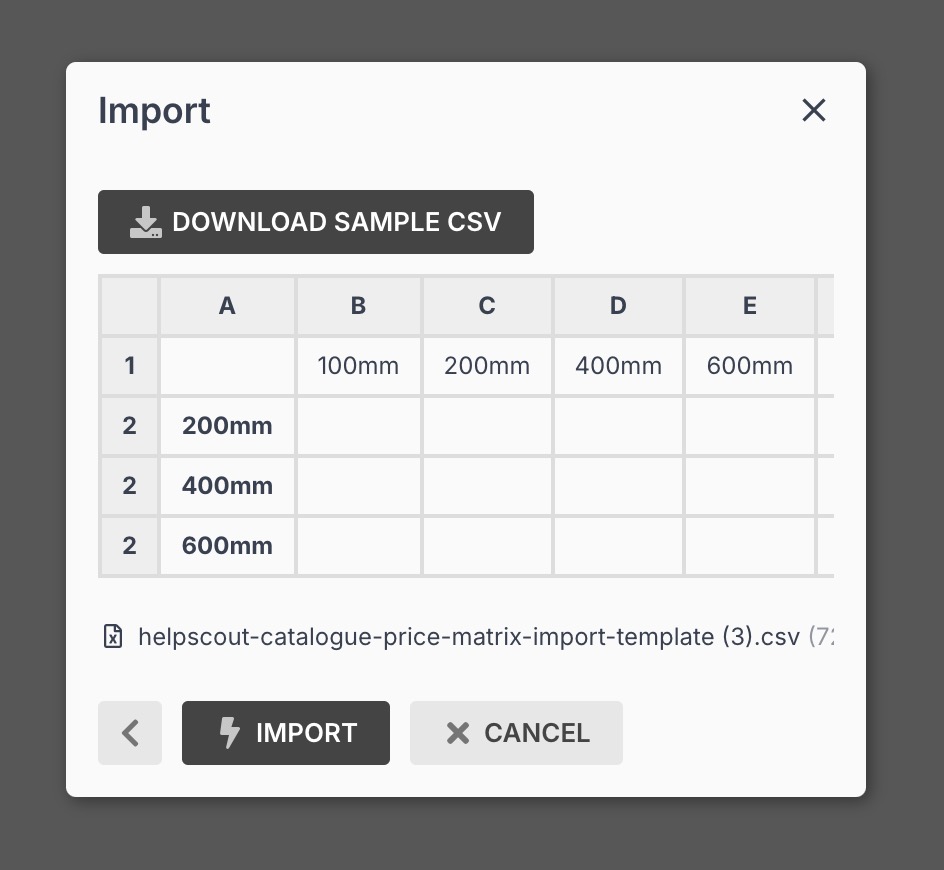
If this is a new price matrix, you can either start with a blank spreadsheet, or download the sample csv by clicking Import > Download Sample CSV.
The format of your spreadsheet should appear as below, ensuring that the values in the first row are for the attribute you defined for the top axis, and the values in the first column are for the attribute you defined for the side axis.
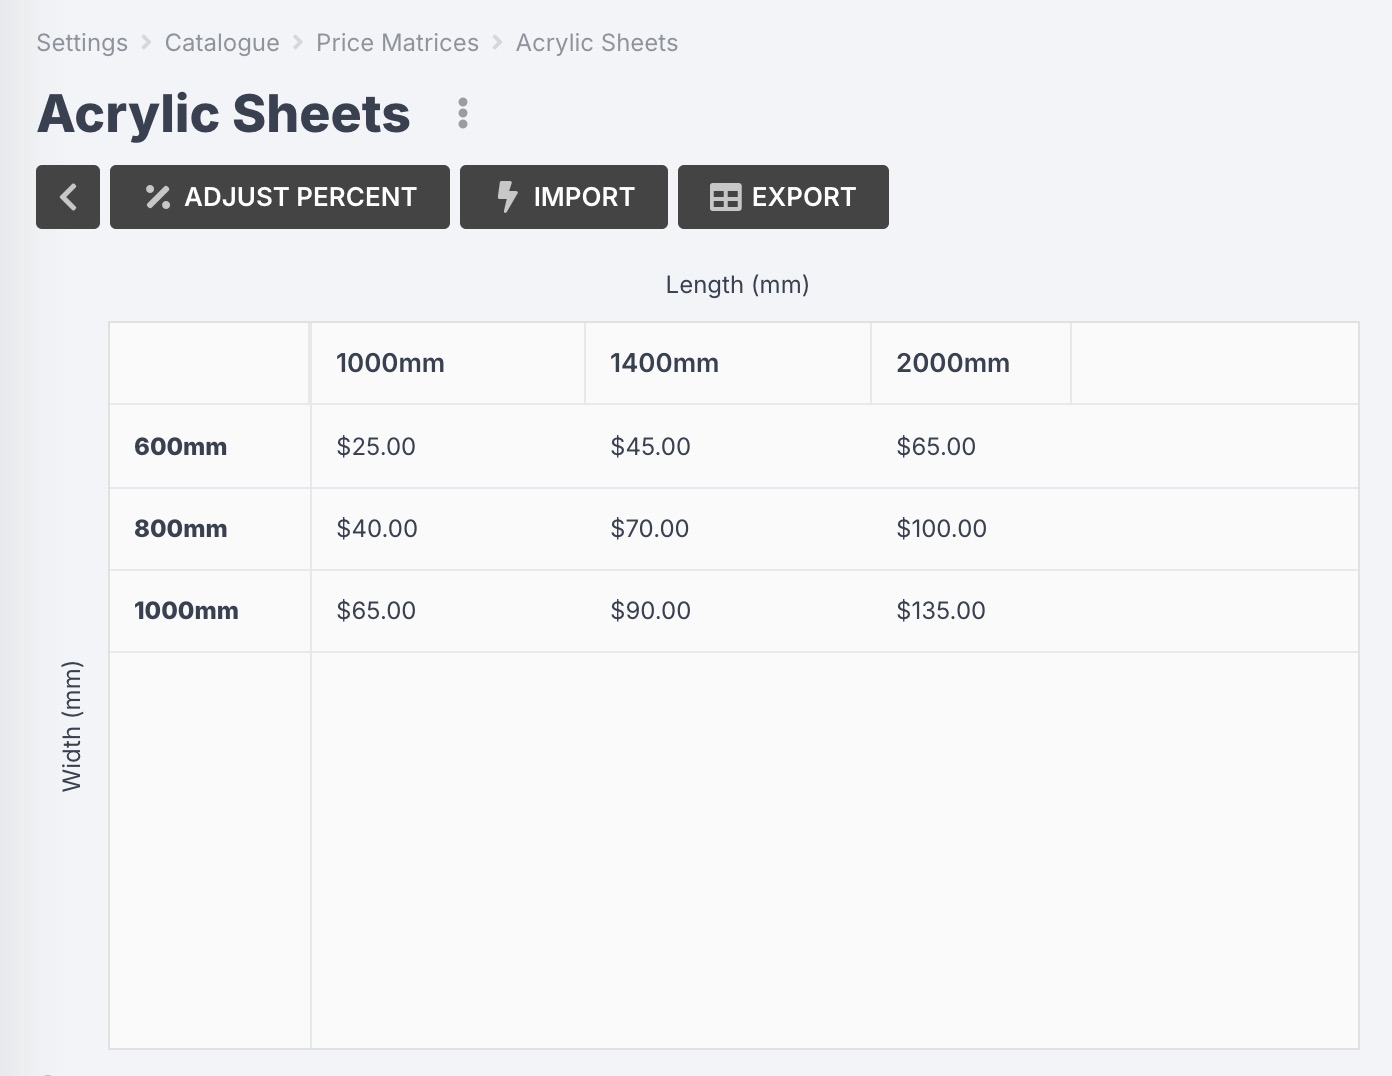
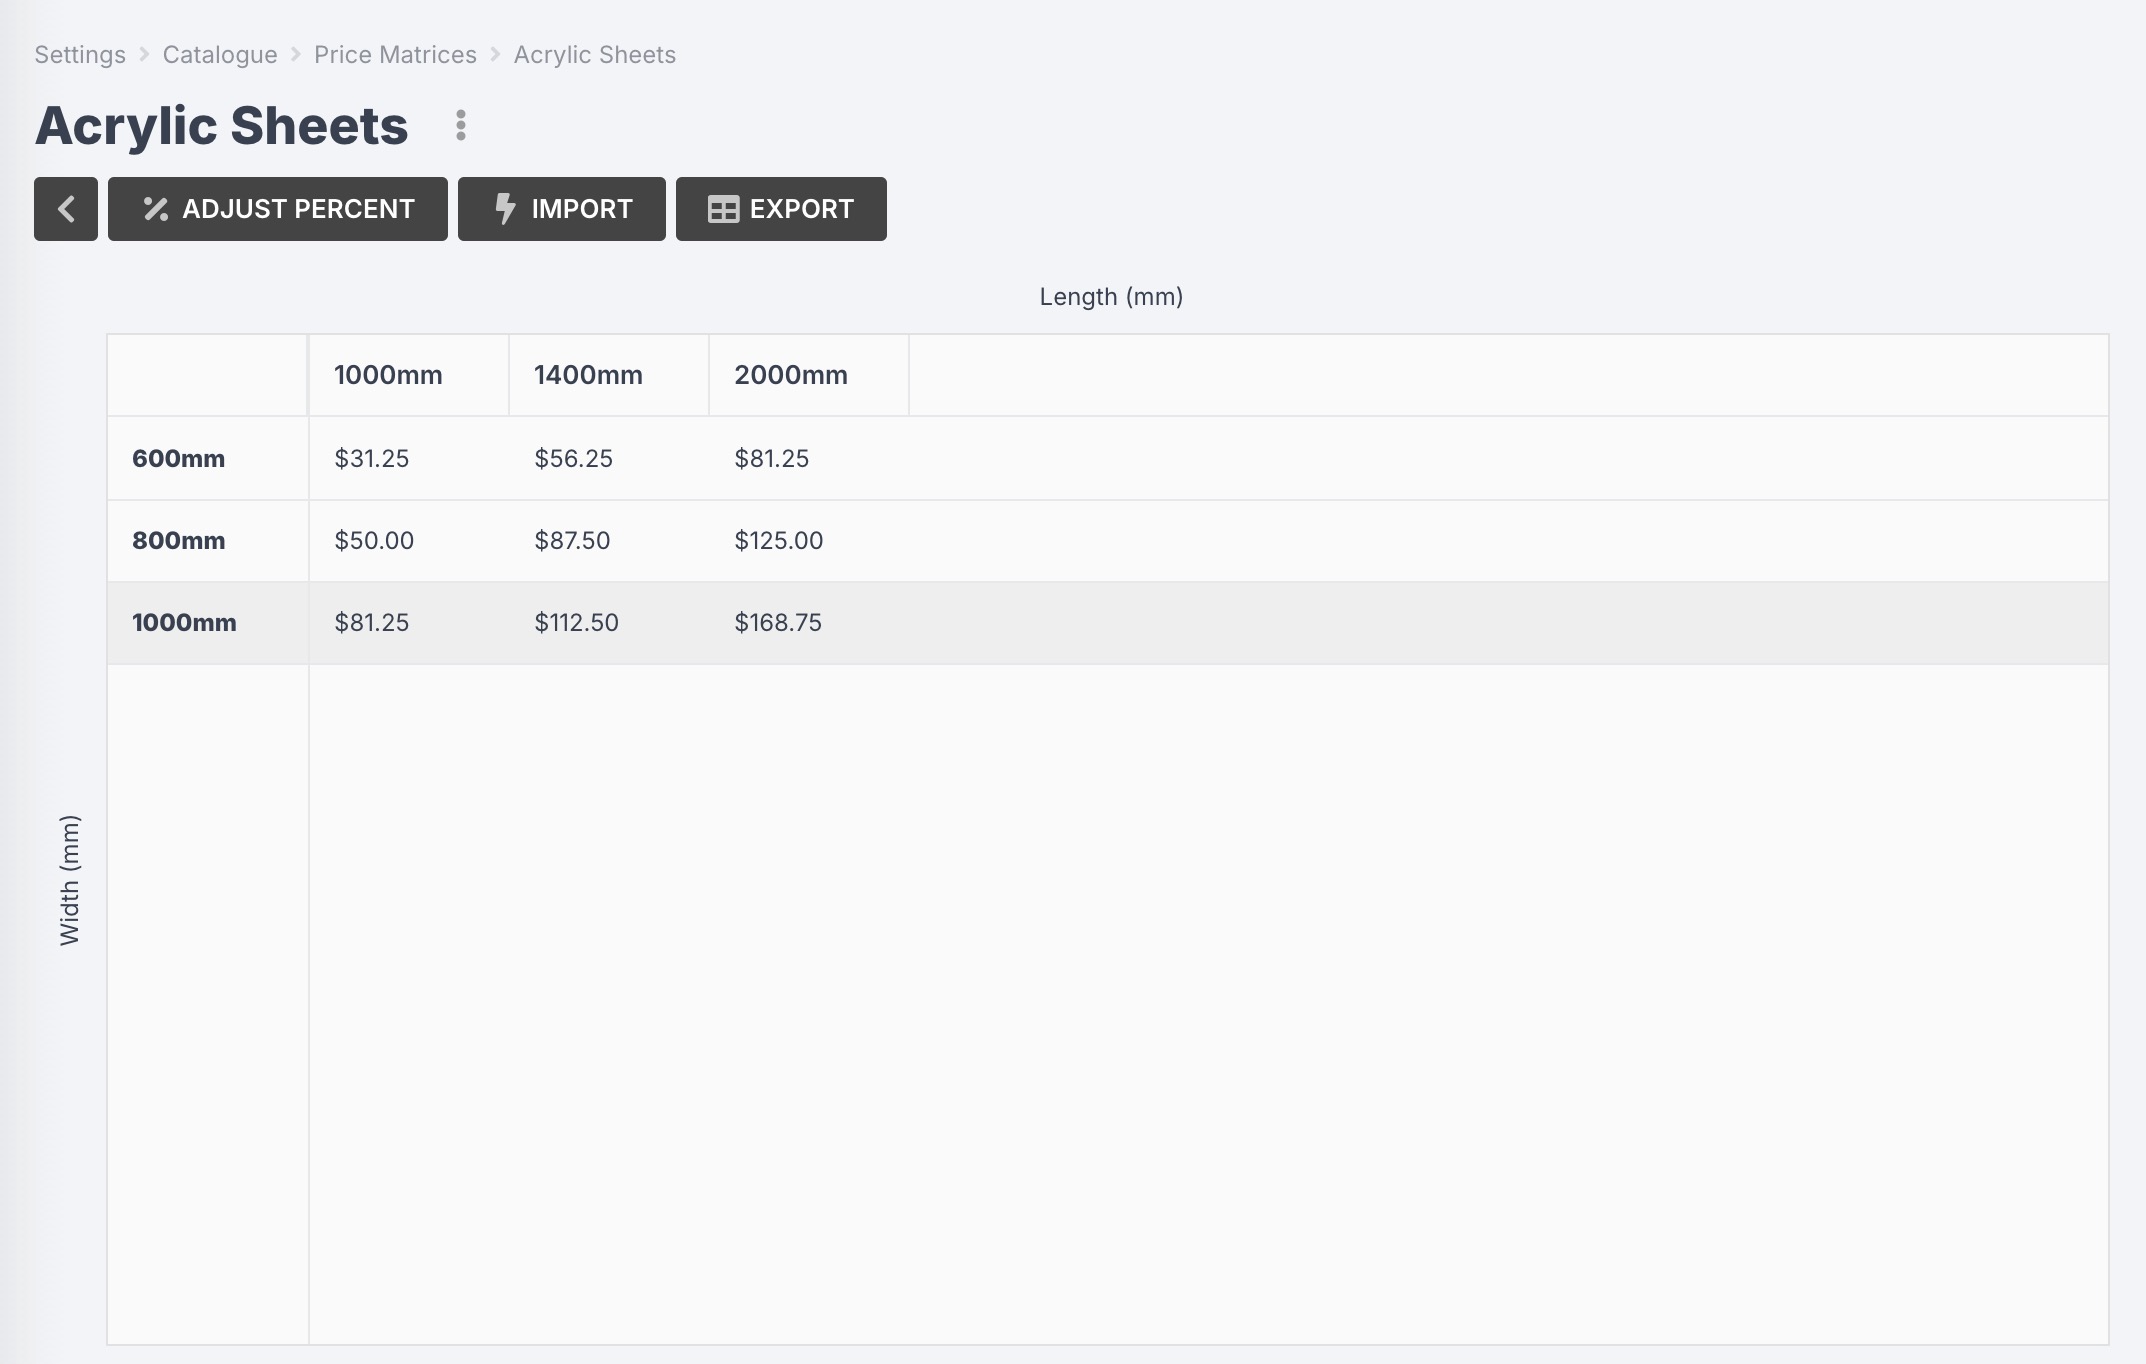
For example, let’s say you buy acrylic sheets, and the price depends on the length and width of the sheet. You would create a matrix with:
- Top Axis: length (millimetres)
- Side Axis: width (millimetres)
Your spreadsheet would look something like:
| 1000mm | 1400mm | 2000mm | |
|---|---|---|---|
| 600mm | 25 | 45 | 65 |
| 800mm | 40 | 70 | 100 |
| 1000mm | 65 | 90 | 135 |
In the middle cells, you will enter the price to be used when the material proportions are less than or equal to the corresponding sizes.
For the example above, if you were ordering a sheet that was 2000mm (length) x 800mm (width) the calculated price would be $100.
Once you have saved your CSV, you can import it by following these steps:
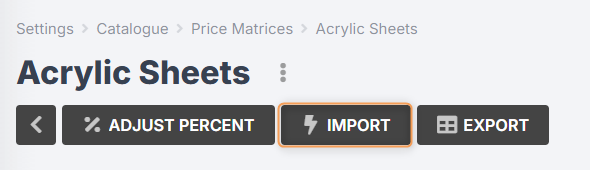
- Navigate to Settings > Catalogue > Price Matrices and click on the price matrix you want to update:
- Click Import:
- Select the CSV file you just modified and click Import again:
After importing, your price matrix should reload to show the imported pricing, and all materials using this matrix will use the new pricing when added to quotes/purchase orders.
Things to note:
- The top left cell of the CSV should always be blank.
- The values in the first row/column do not require a unit of measurement.
- The price cells should only have numbers and decimals, no currency symbols.
- You can leave cells blank, in which case the next highest cell that satisfies the material’s size will be used.
Adjusting Price Matrix Prices
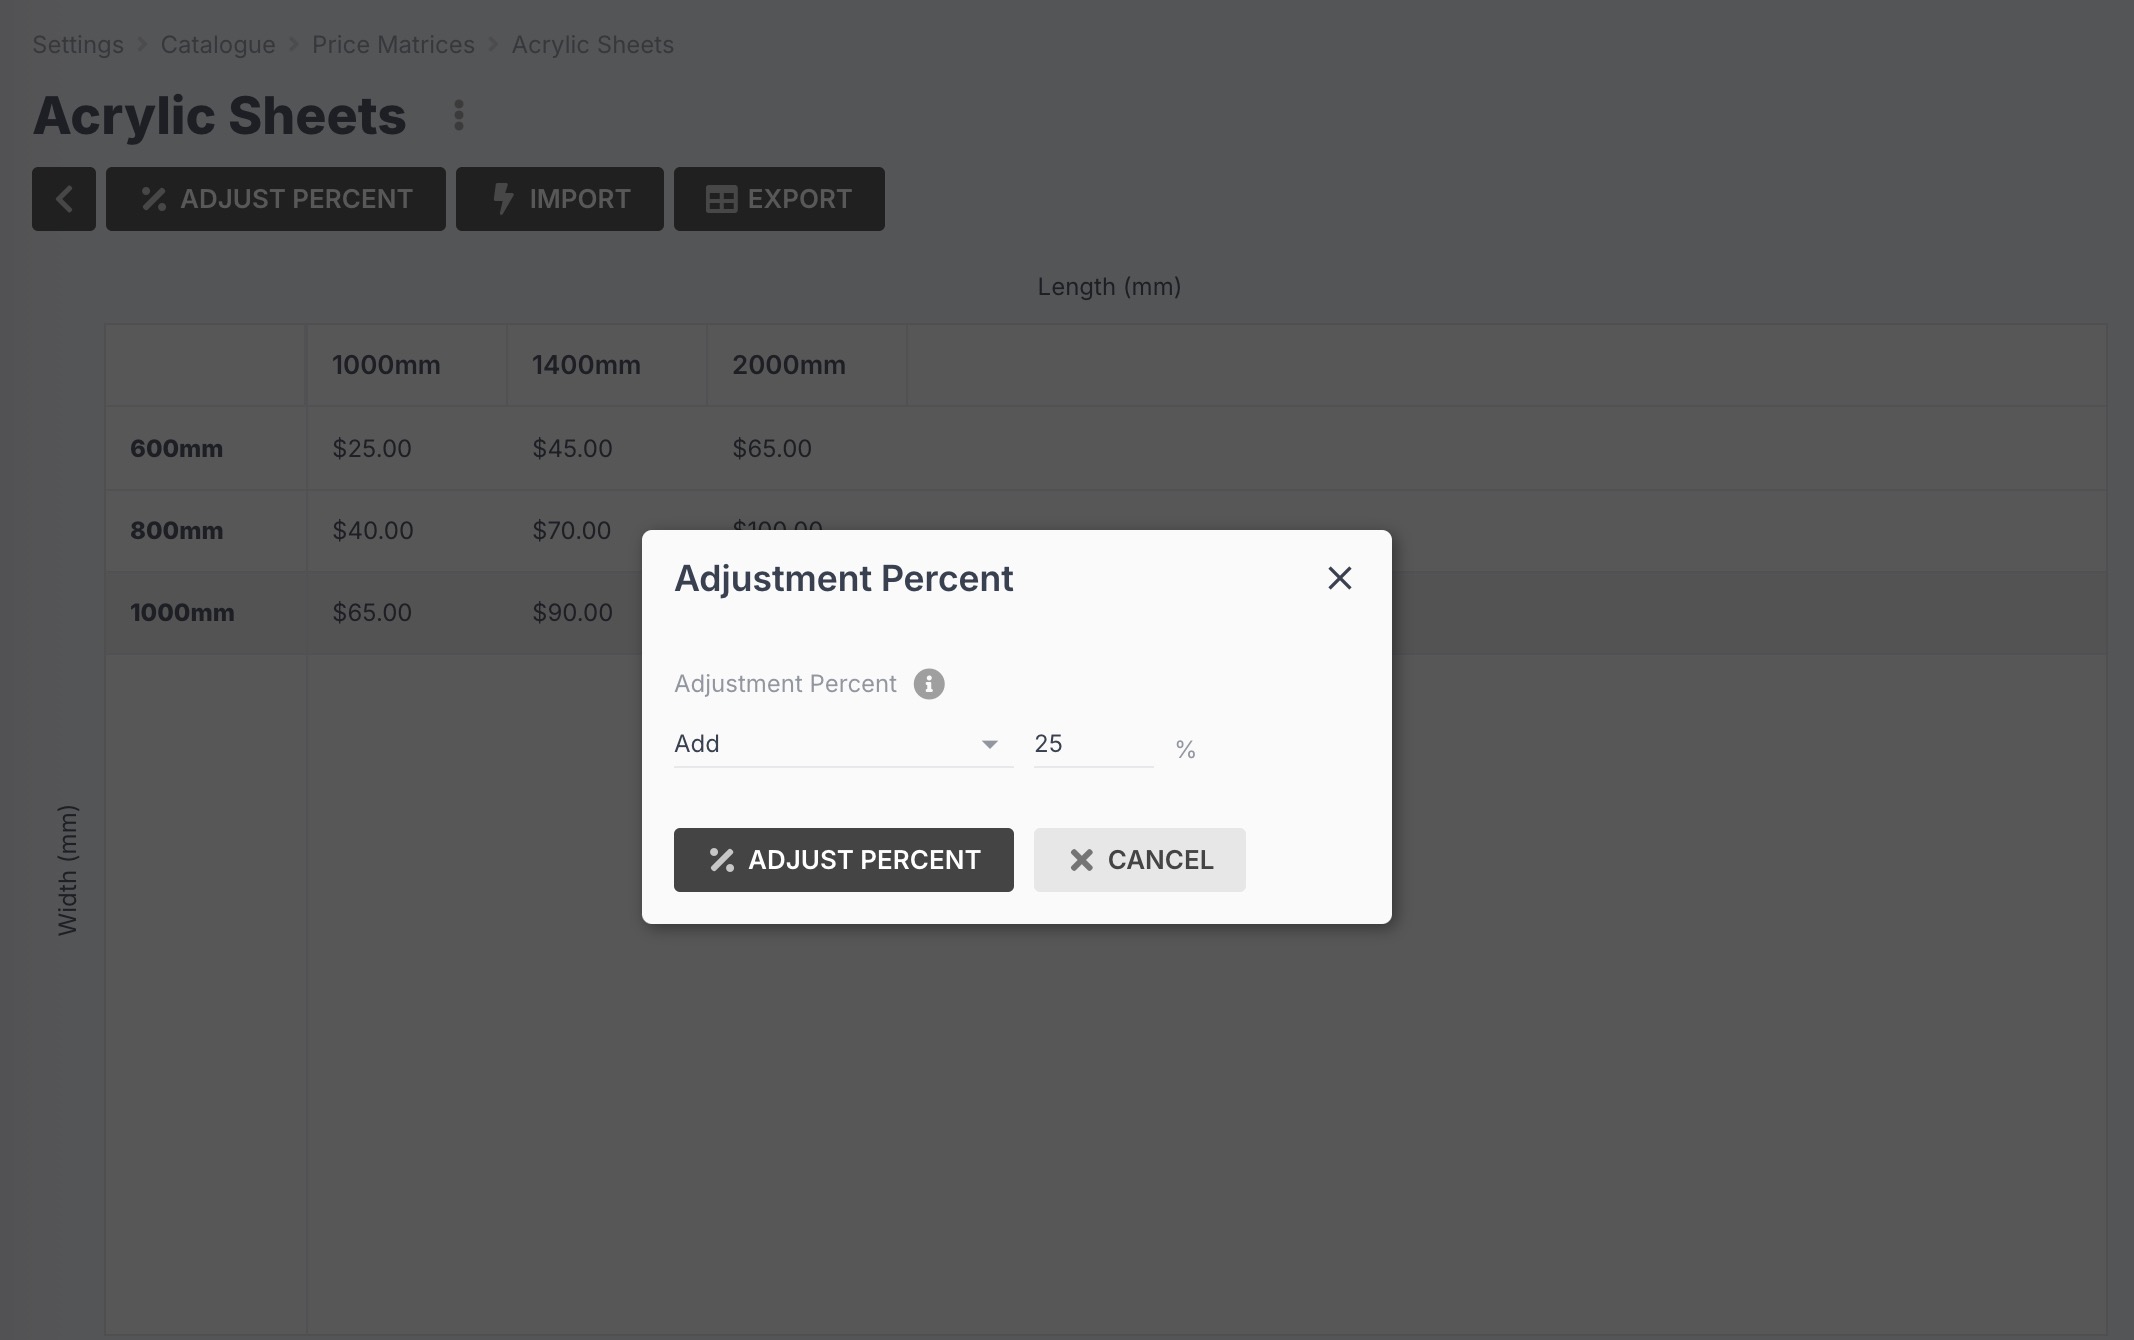
If you want to quickly increase or decrease all prices in your price matrix, without exporting and re-importing the updated values, you can use the adjust percent function.
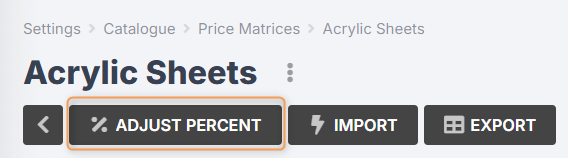
- Navigate to Settings > Catalogue > Price Matrices and select a price matrix to edit.
- Click Adjust Percent:
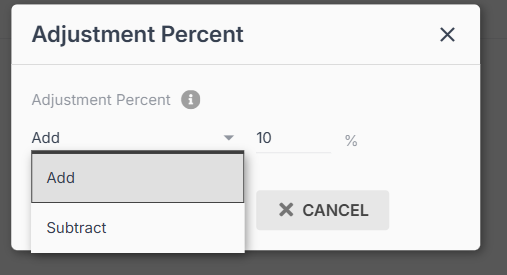
- Choose whether you want to Add or Subtract from the current values, and enter the percentage you would like to adjust prices by:
4. Click Adjust Percent:
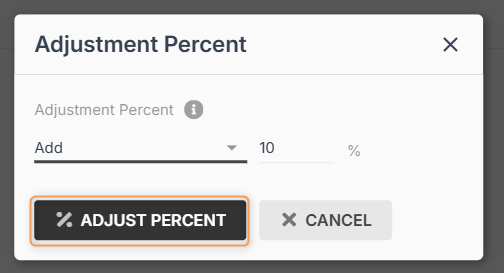
You should see that all of your prices have automatically been adjusted by the provided percentage.
 |
 |
Important: Adjusting prices cannot be undone. It is recommended that you export the existing values first, so you can restore them via import if necessary.
Apply a Price Matrix to a Material
Once you have configured a price matrix, you can start applying it to your catalogue materials.
- Navigate to Catalogue > Materials.
- Select an existing material and click Update, or create a new material.
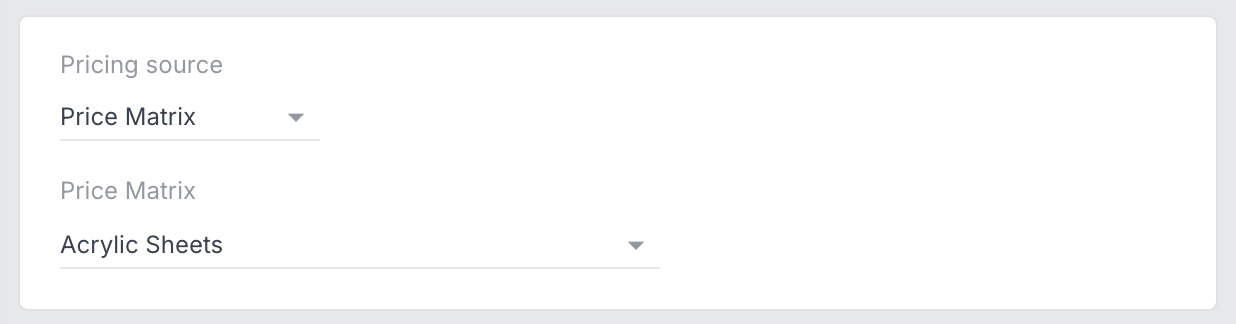
- In the Create/Update Material form, scroll down to Pricing Source and select Price Matrix.
- Select the relevant price matrix from the drop-down menu:
- Make any other necessary changes, then click Save Changes.
Important: When you change a material from unit pricing to price matrix, the unit pricing will be lost. It is recommended that you export your existing materials first, so you can restore the unit pricing if necessary.
Applying Prices Matrices to a Materials Import
When importing catalogue materials, you can apply price matrix pricing using the Price Matrix column in the CSV template.
Simply enter the name of your price matrix into the column, and that price matrix will be applied to the material in the corresponding row. You can then leave the Price, Price Unit Id, Units per Price, Unit Price, and Unit Price Unit Id columns blank.
If you leave the Price Matrix column blank, unit pricing will be applied to the material instead – but you will need to fill in the Price, Price Unit Id, Units per Price, Unit Price and Unit Price Unit Id columns.
If you enter a name in the Price Matrix column that does not exist in your catalogue settings, you will receive an import error message, unless you enable Add new Price Matrix if not found in the import settings:
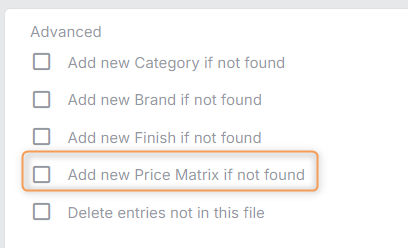
This will create a new price matrix in your catalogue settings. However, it will be blank – i.e. it will not contain any pricing or measurements until you update it manually.
How Pricing is Calculated
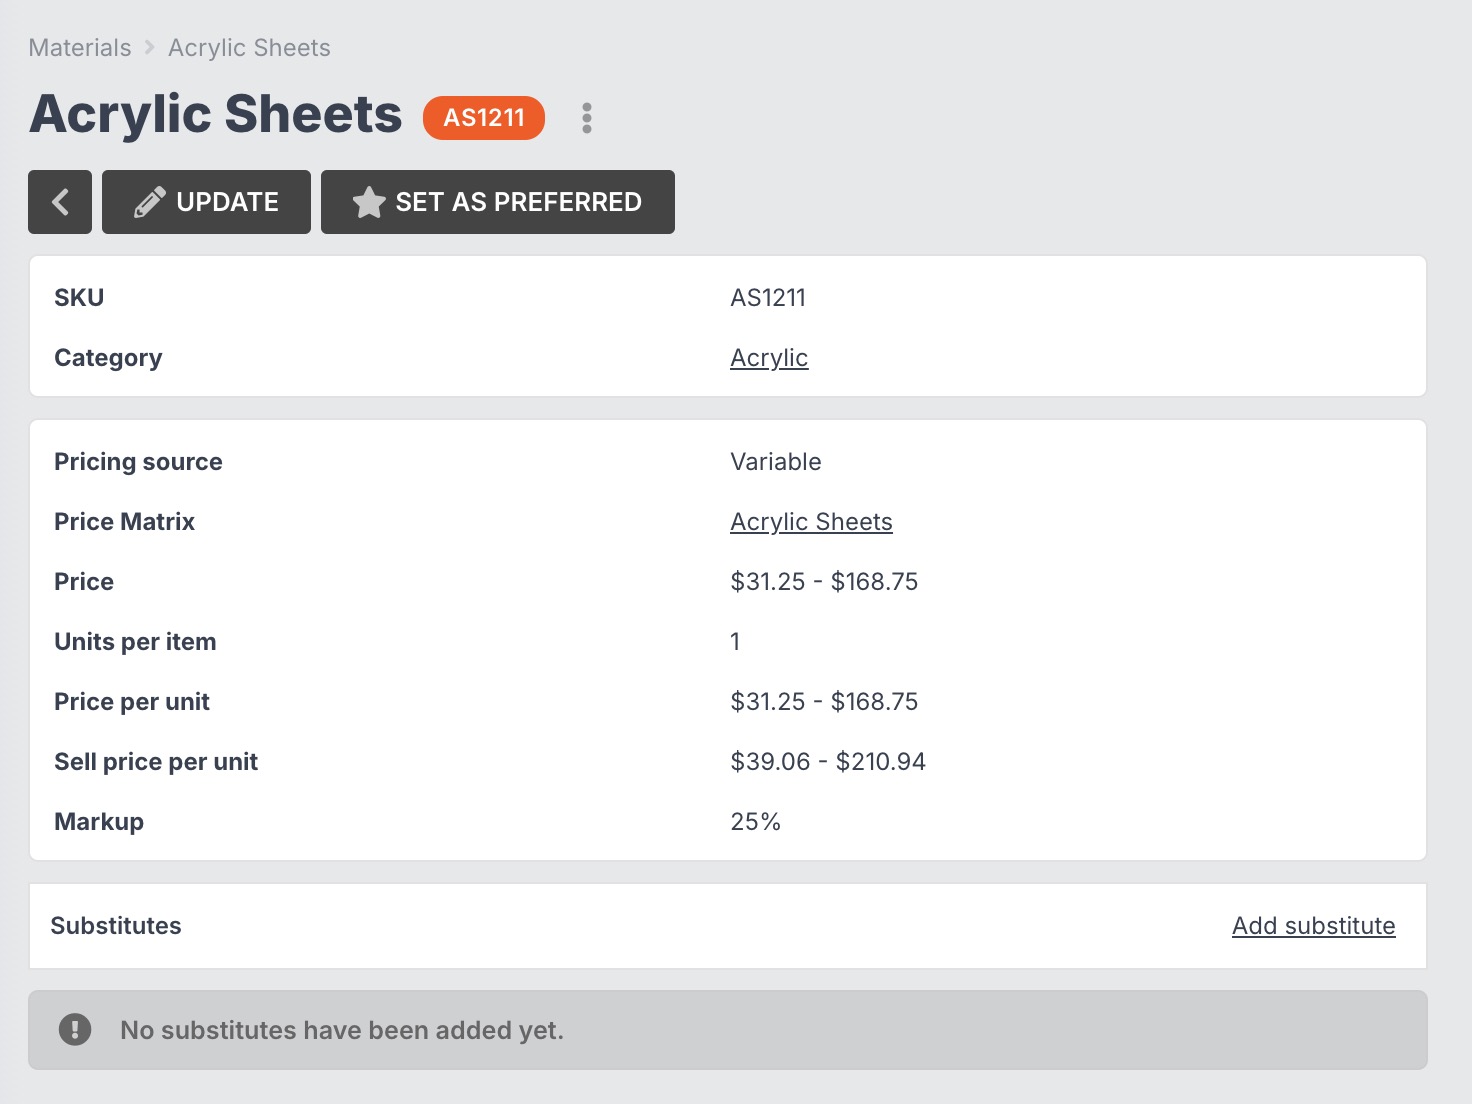
Materials that use price matrices will not show a particular price in your catalogue. Instead, they will display a price range representing the lowest and highest prices in your price matrix.
When the material is added to a quote or a purchase order, this is when the price will be calculated.
Quotes
For example, you might have configured the material as a proportional item inside a product. When that product is added to a quote, the calculated proportions will be used to determine the correct price matrix value, before adding any necessary overhead/wastage/profit.
The price that was calculated when the material was added to the quote will remain the same for this quote, even if the price matrix pricing is updated.
The only way to get updated price matrix pricing in an existing quote is to modify one of the configured properties of the product in the quote (e,g. product length/width), or to refresh your quote pricing.
Purchase Orders
When adding a price matrix material to a purchase order, you will be given the option to leave the unit pricing fields blank, allowing Jobman to automatically calculate the price based on the defined proportions/quantity.
If you have a specific price you’d like to use, you can enter this in the unit pricing fields to disable the price matrix functionality.
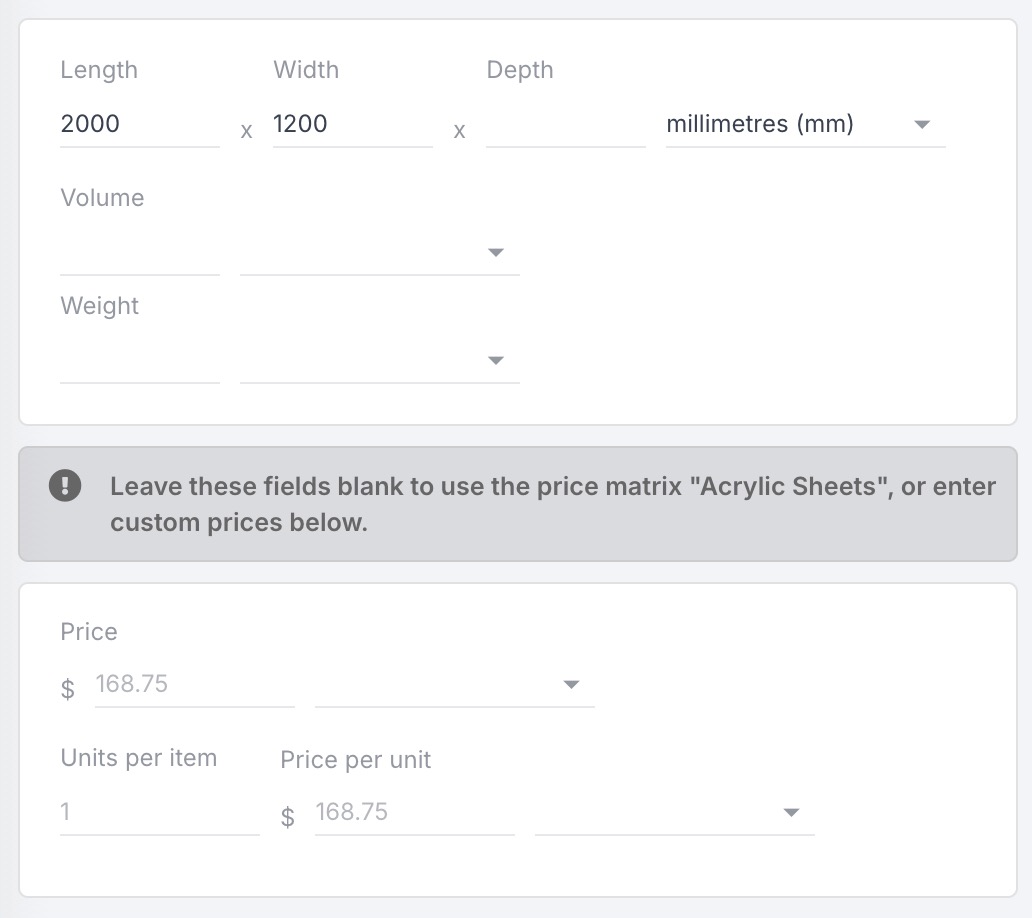
Note: If a material added to a quote or purchase order does not have the proportions required by the selected price matrix, the first cell value will be used.