


Back to: Complete Jobman Set-Up Guide for Administrators
What are Job Resource Materials?
Job resource materials represent the catalogue materials needed to complete your job.
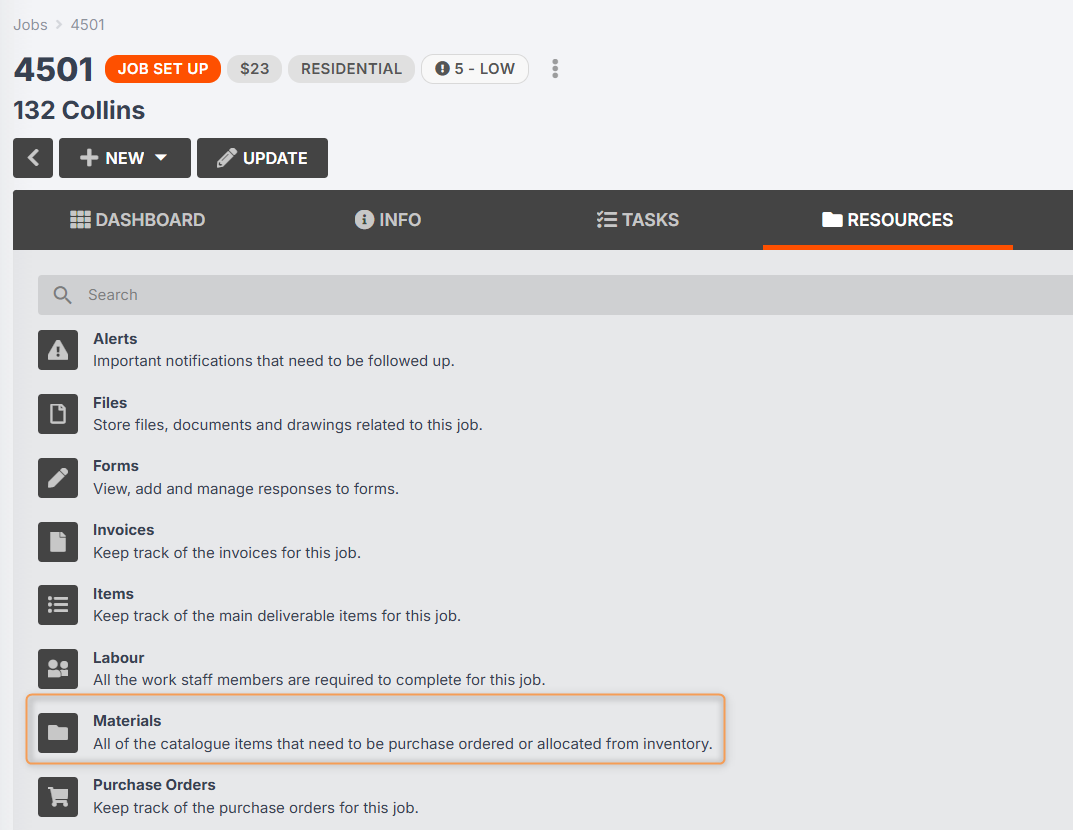
You can see these in Jobs > [Job #] > Resources > Materials:
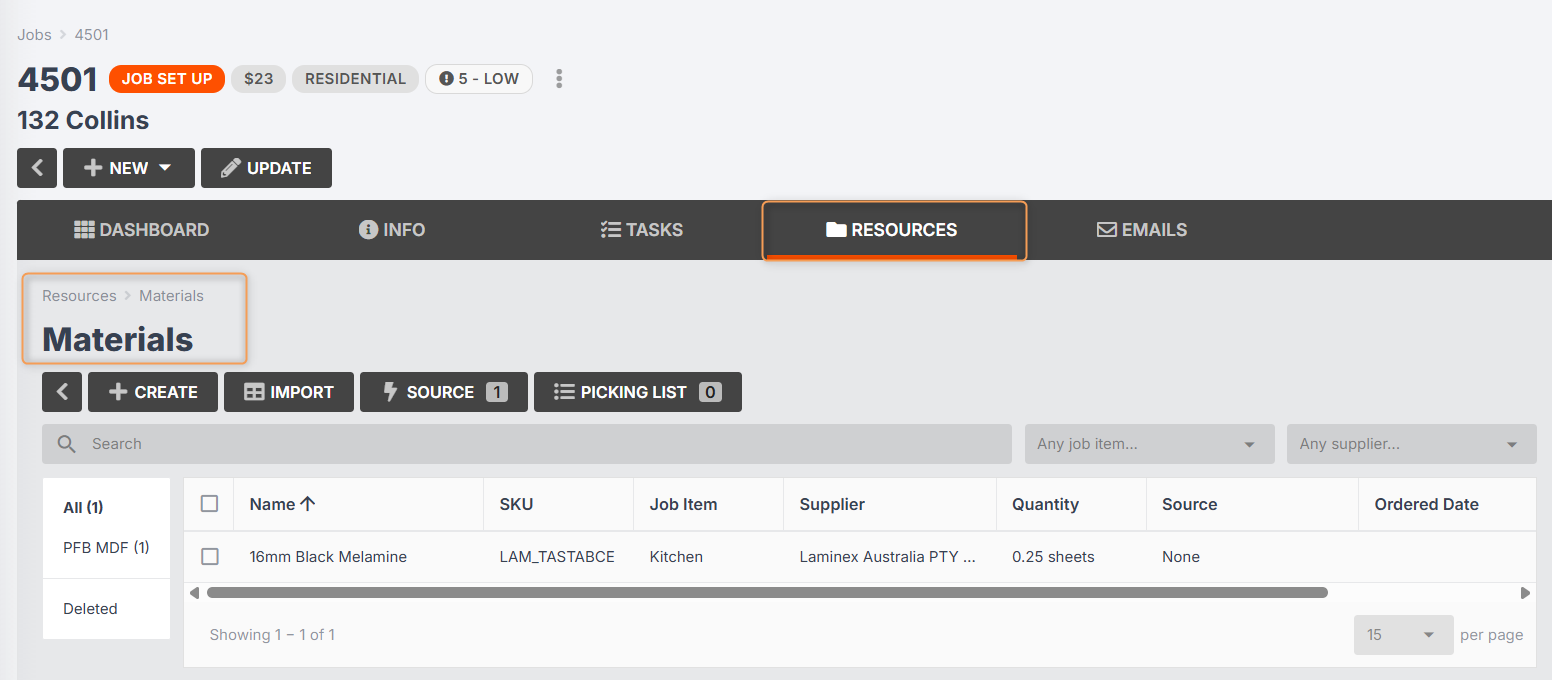
Job resource materials are used primarily to track your job costing. During the quoting stage, you will generate an estimated value for the materials required for your job (e.g. product parts that use quote pricing). When viewing your Job Cost Report, you can then compare this estimated value to the actual value of the materials you ended up using for the job:
Job resource materials can also be used to guide your team in knowing which materials to pick from your inventory for the job, and which materials to purchase order.
How to Add Materials to a Job
If you have created your job from a lead with an accepted quote, any materials contained in the quote (e.g. as line items or as product parts/components) will automatically be populated in your job resource materials.
However, you can also add materials directly to your job resources, either by importing from a spreadsheet, CAD/CAM integration, or by creating them manually.
Importing Job Resource Materials
To import your Bill of Materials into your job, follow these steps:
- Click into your job from the Jobs tab.
-
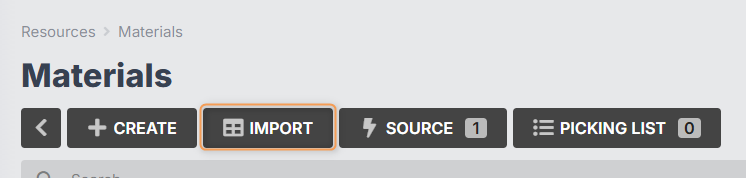
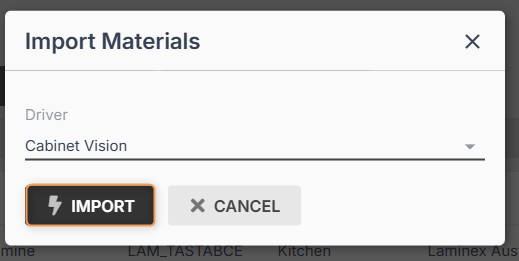
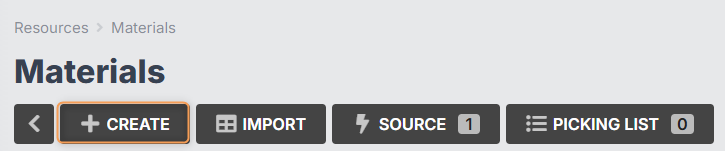
Click Resources > Materials > Import:
-
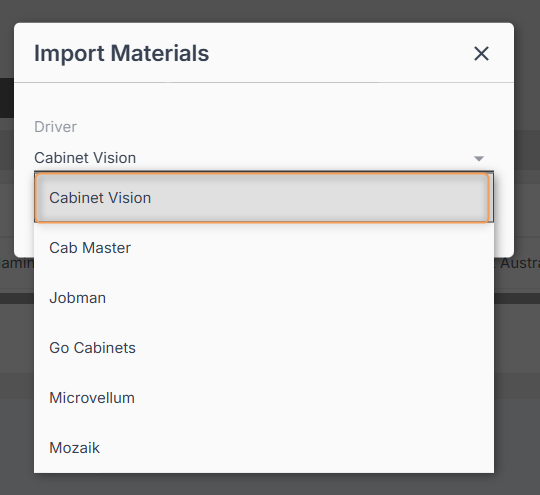
If you have purchased a CAD/CAM integration for your Jobman subscription, select your CAD/CAM software from the Driver drop-down.
Otherwise, you can select the generic “Jobman” driver, which will allow you to import a simple CSV file containing material SKUs and quantities.
-
Click Import again:
-
Drag-and-drop or click to upload your file:
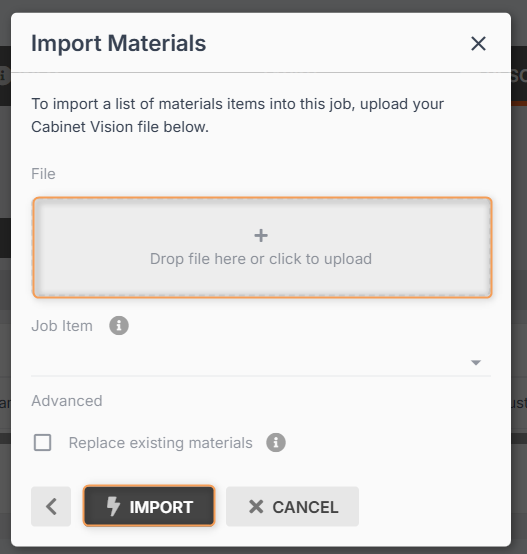
- If necessary, you can select which job item to allocate the materials to.
- If necessary, tick the box for Replace existing materials if you want the materials from your file to override the materials brought in from your quote.
- Click Import again.
- You will see an import summary which will show you what materials were imported and whether there were any issues.
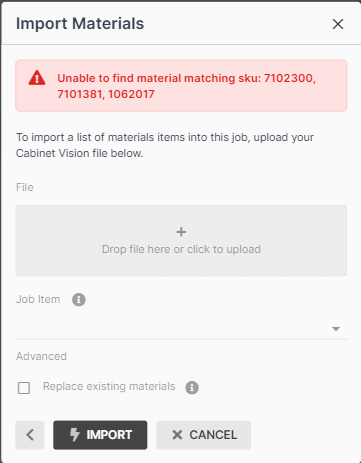
Important: The items in the import file must have identical SKUs to the corresponding items in your Jobman catalogue. If some of your items don’t match, you will receive an error message as shown below. To fix this, you will need to add or update your catalogue materials with the correct SKU. You can then complete your import.
You must also make sure that the file you are importing does not have any blank rows or columns in it, or you will receive an error message.
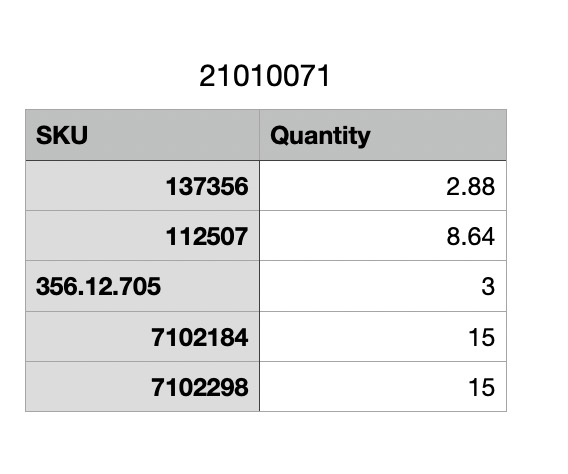
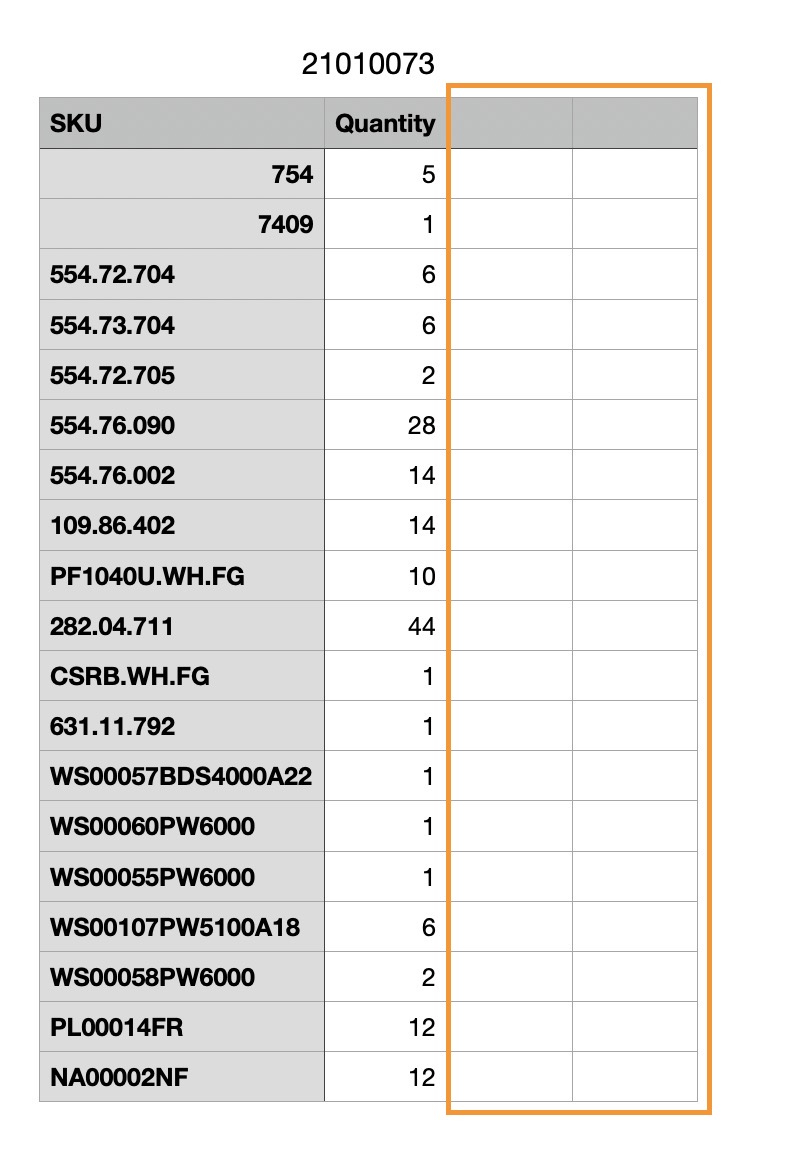
Correctly formatted CSV:
Incorrectly formatted CSV:
Please Note: Imported materials will always have their source set to None. (More on sourcing materials below)
Creating Job Resource Materials Manually
To manually add materials to your job, follow these steps:
- Click into your job from the Jobs tab.
-
Click Resources > Materials > Create:
-
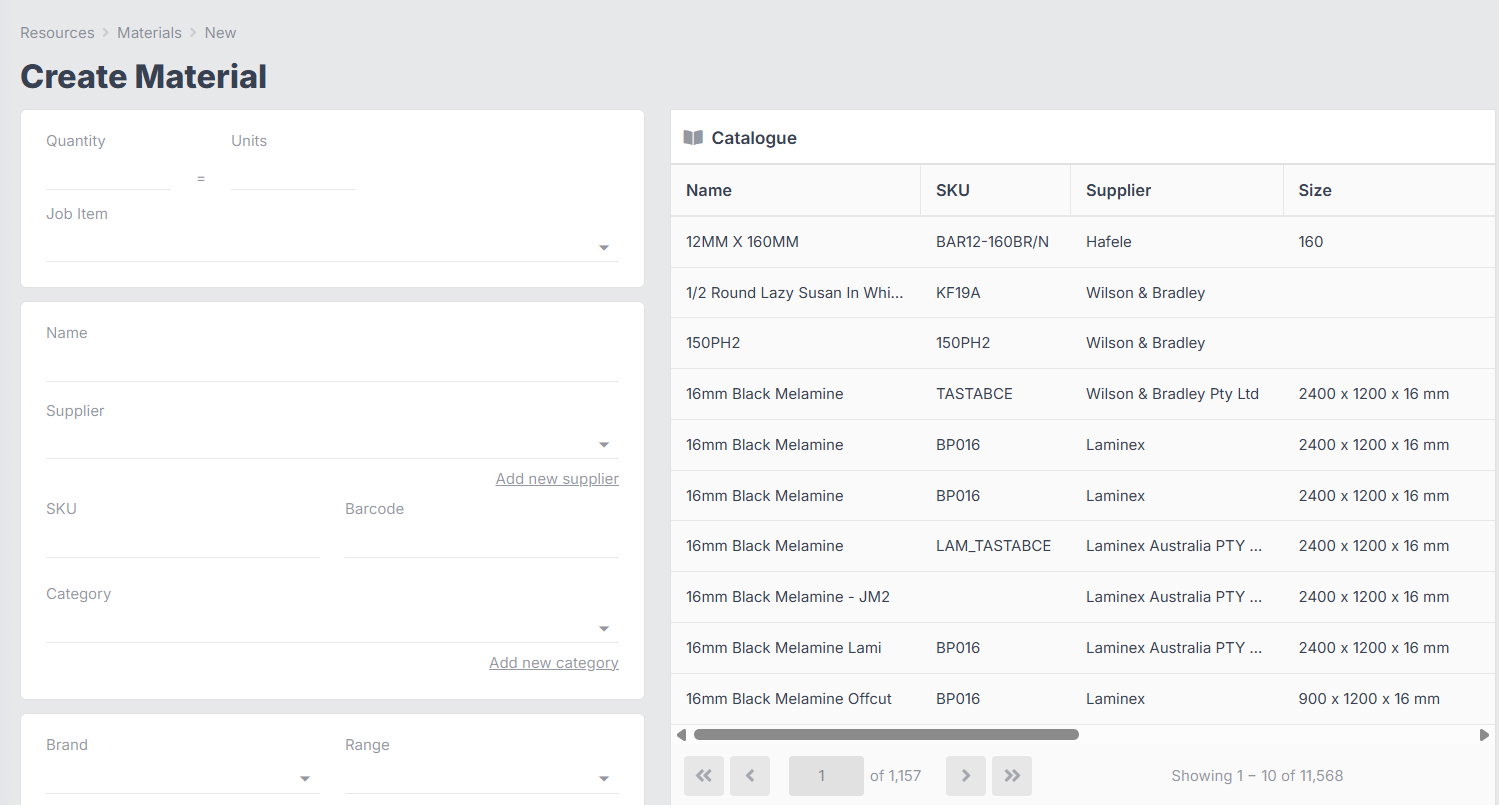
You will be redirected to the Create Material form:
-
If you begin to type a name (or SKU, or other identifying information), the options on the right of the screen will filter accordingly.
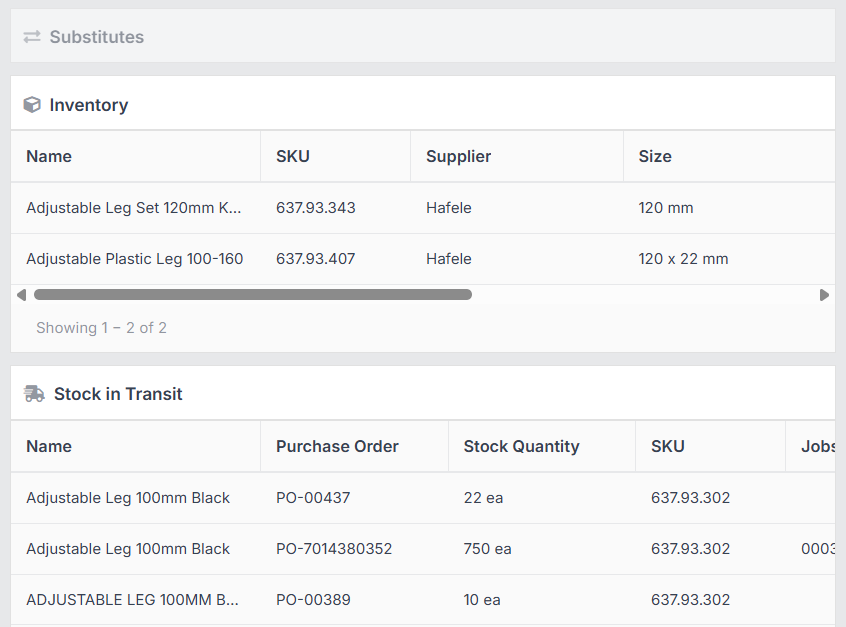
Options on the right will be grouped under Catalogue, Substitutes, Inventory, and Stock in Transit. If there are no results found for a particular grouping, it will be greyed out:
If you select any of the options from the right, the corresponding details will autofill in the form on the left – however, you will still need to enter a quantity. Otherwise, you can type to fill out the form manually.
-
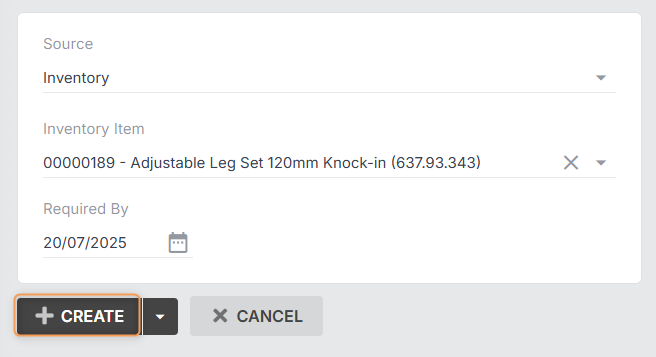
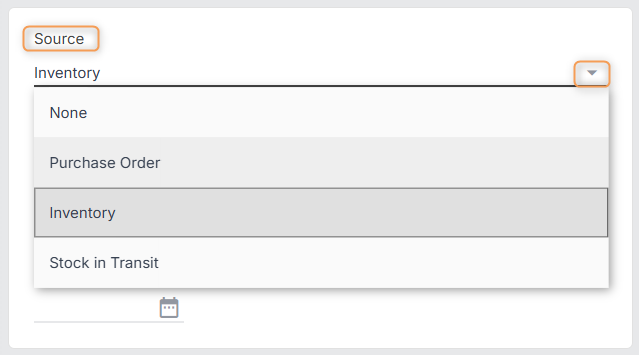
At this point, you can choose where to source the material from: None (default), Purchase Order, Inventory, or Stock in Transit:

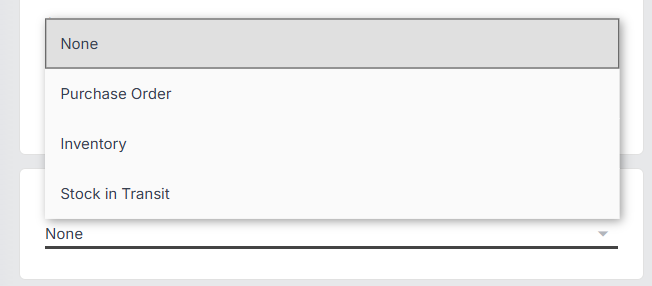
Depending on which you select, you may need to add further details. (More on sourcing materials below)
Note: If you have selected a material from one of the groups on the right, this may change the default source for your material – e.g. choosing from the Inventory group will set the source to Inventory. However, you can still change this using the drop-down if you wish.
-
Click Create:
Alternatively, you can click the down arrow, then And add another to be redirected to a new Create Material form once this one is completed:

Sourcing Job Materials
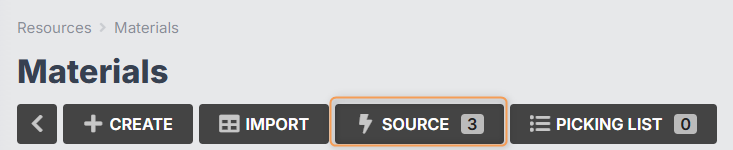
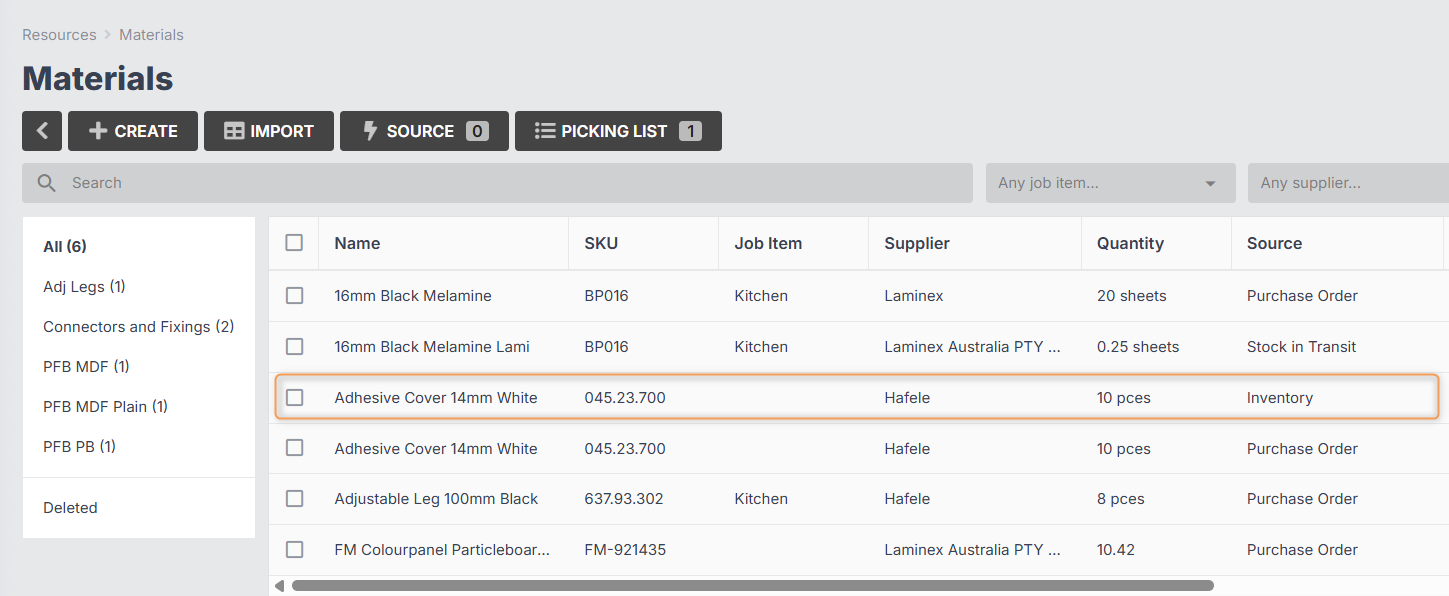
Once you have added all the necessary materials to your job resources, you will notice a column in the grid called Source:
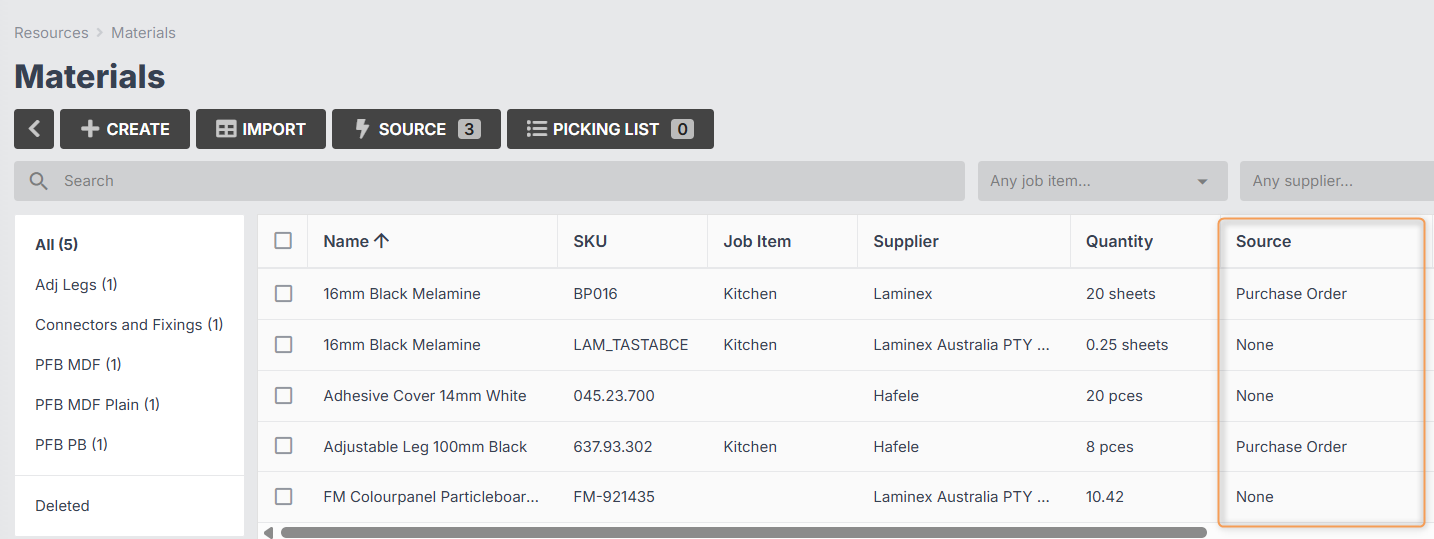
This represents where the materials will be coming from.
There are four possible sources: Inventory, Stock in Transit, Purchase Order, or None (default).
-
Sourcing from Inventory will take a number of material units from an inventory item and create a new inventory item that is specifically allocated to your job.
E.g. you have 200 sheets of white melamine in inventory. You source 38 sheets from inventory to job #3452. The number of sheets in your stock inventory item will be reduced to 162, and a new inventory item of 38 sheets will be added to your inventory, under job #3452.
-
Sourcing from Stock in Transit will allocate the specified quantity of material from a purchase order that is considered in-transit and has stock units available to your job.
E.g. You have run out of white melamine sheets, but have ordered another 300. Your purchase order for 300 sheets has not yet been received, so the stock has not been added to inventory. However, the purchase order is considered in transit (see more info below). You source 40 sheets of white melamine to job #2346, selecting that purchase order.
Now, anyone else wanting to source white melamine from that same purchase order will have only 260 to source from. When the purchase order is received, two entries will be created in your inventory: 260 sheets will be added as stock, and 40 sheets will be added under job #2346.
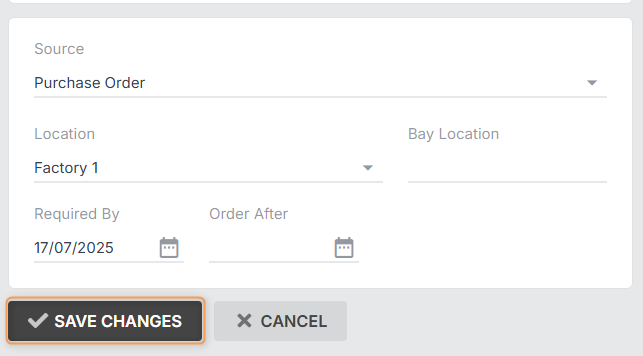
- Sourcing from Purchase Order will add the specified quantity of material to your Purchase Order Pending Items. (You can specify an order after date if you don’t want these to be added to Pending Items straight away.)
- Setting your source to None, this means that the material is not being sourced from any particular location. If you want to use the autosource function, you should have all your materials set to None. (See next section.)
When are my material costs reflected in the Job Cost report?
Any time a job material is created or updated, the job cost will be recalculated. However, only sourced materials will be counted towards the job’s actual value.
When you first create a job from a quote, all the quote materials will be added to that job, and this will populate the estimated value.
From that point on, any changes you make to materials (creating, updating, deleting, sourcing, receiving, etc.) should trigger the job’s actual cost to recalculate.
Materials with source set to “None” will not be counted towards the job’s “actual” cost.
Example: you add a material to a job worth $100, and leave the source as None. The job cost will not reflect this material’s value. But if you source the material to Purchase Order instead, the job cost will be increased by $100.
Auto-sourcing Job Materials
By default, your job resource materials will have the source set to None, unless you have set the source manually when creating the material (see previous section).
You can then use the autosource function to set the sources for all your materials by following these steps:
-
In Job > Resources > Materials, click Source:
-
Select a location (if you have multiple) and, if necessary, select Order After and/or Required By dates for purchased materials.
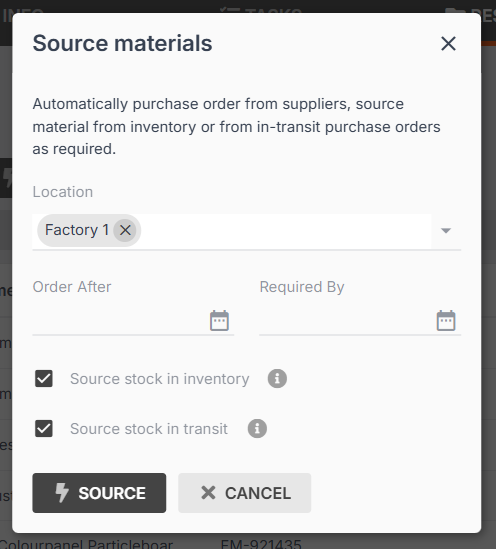
- If necessary, untick the options for Source stock in inventory and Source stock in transit. You might do this if the job you’re scheduling is far in the future, and you don’t want it to take materials away from inventory or stock in transit that could be used for jobs that are coming up sooner.
- Click Source again.
-
You will see a summary that tells you how and why everything was sourced/not sourced:
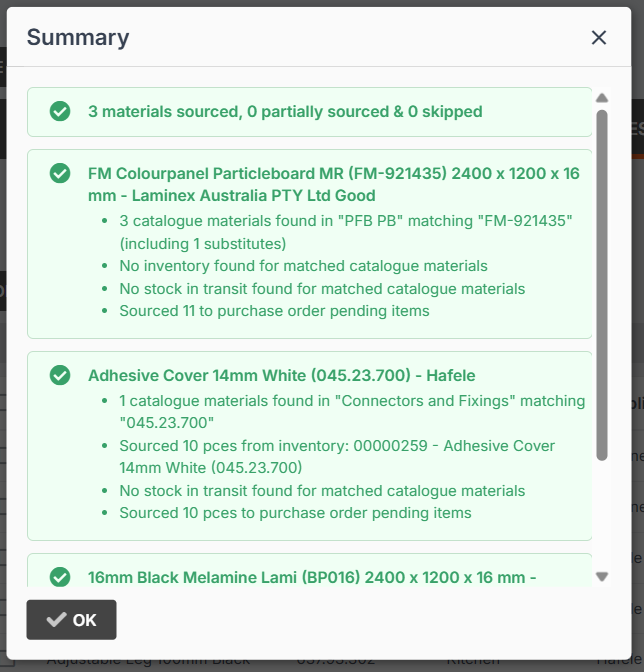
Please Note: Once you have navigated away from the job materials grid, the auto-source summary will no longer be visible.
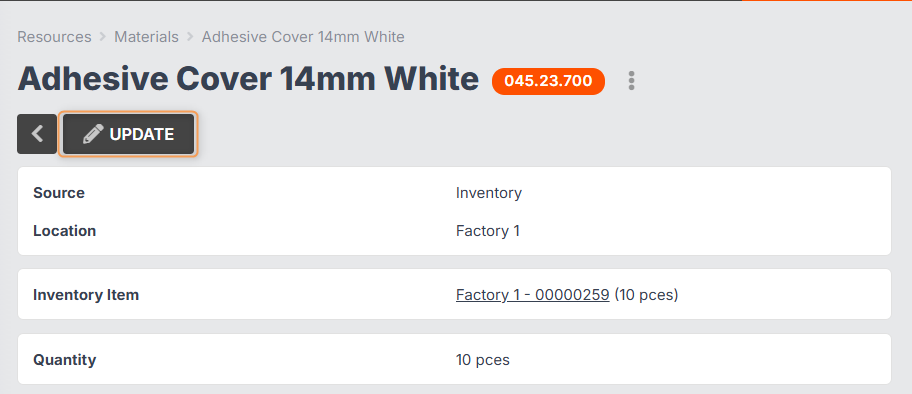
Sourcing Job Materials Manually
You can also set or change the source for individual job materials by following these steps:
-
From Job > Resources > Materials, click into the material you want to source:
-
Click Update:
-
In the Edit Material form, use the Source drop-down to select the source you want:
-
Save Changes:
Tip: If you have set the source to Purchase Order and set an Order After date for sometime in the future, and then you reach the order date, and the materials are added to Pending Items, you can choose to reset the sources of your materials to Inventory or Stock in Transit, to check if they still need to be ordered, before proceeding to purchase ordering.