


Back to: Complete Jobman Set-Up Guide for Administrators
JMSync – Cabinet Vision Integration
Maximising efficiencies while minimising waste is the goal of any business looking to increase its profits. Linking Jobman to your CAD/CAM and accounting software will:
- Reduce double-handling of data
- Minimise human error
- Minimise time wasted
- Speed up processes
- Highlight other inefficiencies
Available for Cabinet Vision version 9 onwards, Jobman can turn your BOM (Bill of Materials) into a purchase order, while drawing down from any stock that you might have, with the aid of JMSync.
JMSync is a stand-alone application designed to run locally for Cabinet Vision users that are responsible for purchase ordering. JMSync can be configured to read and send required information from Cabinet Vision’s access tables, converting them to a much smaller file size that is suitable for file transfer over the internet into Jobman.
Please note:
- JMSync can query the report.mdb table for hardware items and the psnc_cv.mdb for sheet counting.
- Jobman can identify product codes in the report database (for hardware items) in the SKU field in versions 9 and onwards or by placing #(productcode) after the description.
- Board material quantities are only properly known when optimised, which is why JMSync needs to point to the psnc_cv.mdb in the NC database. Currently there isn’t an SKU field in this database, so placing a product code after the description on board materials is necessary for Jobman to recognise the materials.
Information:
Generating a bill of materials from Cabinet Vision can be done by yourself, or is supported by Cabinet Vision Australia as Solid Setup Plus: https://www.planitaustralia.com.au/solid-setup-plus
Jobman only requires qty and product codes for importing.
For this to work:
- Product codes must match between Cabinet Vision and Jobman.
- The sequential Job Number created by Jobman is required to name the Cabinet Vision file. This will be referenced by JMSync to send information to the correct place in Jobman.
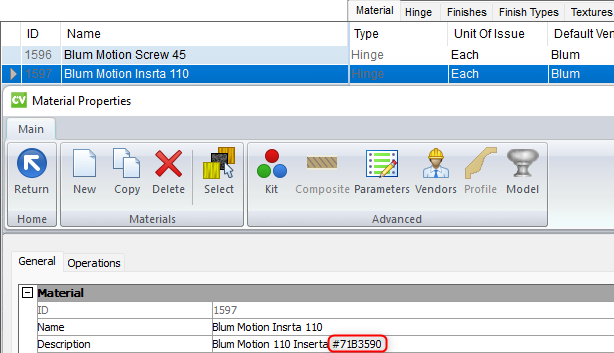
The product code can be entered in either the material SKU field or after the material description by a # symbol.
Example: Blum Motion 110 Instera#71B3590
Install JMSync and Connect to Jobman
Setting up Cabinet Vision with your product codes is easier with JMSync Installation.
For the zip.file download for JMSync installer please click here.
- Download, then double-click to open the installer.
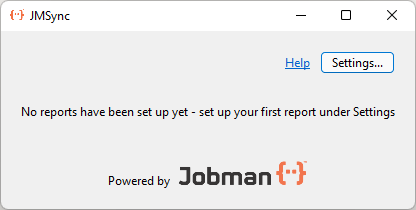
- This will launch the pop-up shown below. Click Settings.
- Click Upload.
- In Jobman, navigate to Settings > Integrations.
- Select Cabinet Vision.
- Enter the details from the JMSync Installer to match in Jobman, as shown below.
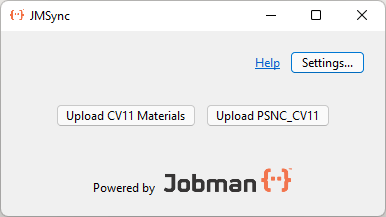
You can now create “upload” buttons (shown below) from Settings > Reports.


Materials Report
- Name: CV(Version Number) Materials
- Report Database (For local installations): C:\Cabinet Vision\Solid_(CV Version Number\Database\Report.mdb
- Report Database (For network installations): Do a search for report.mdb on your server.
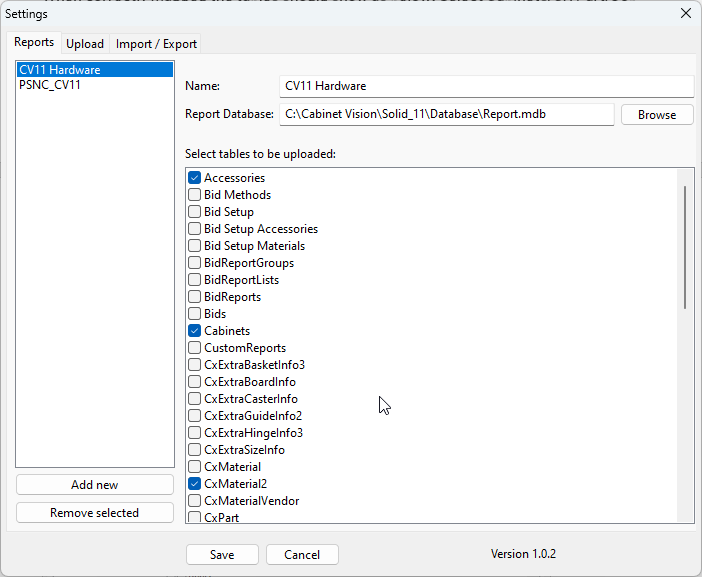
- Select the tables to be uploaded:
- Accessories
- Cabinets
- CXMaterials2
- CxPart2
- Job Info
- Parts
- Rooms
- Click Save and you will now have created the required buttons to run the profiles.
Example:
When correctly mapped, the tables should show as below.
Select Cabinets/CX Part/Job Info/Parts/CX Material (Highest number)/CX Part/Rooms and then save.
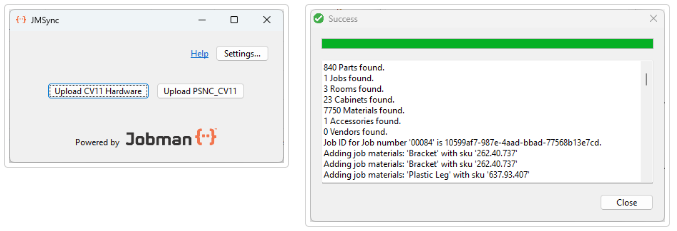
Once the report is uploaded, q “Success” notification will appear, displaying materials and quantities added to the Materials list for that job.
Clicking Upload CV11 Hardware will verify product codes in Cabinet Vision against Jobman, as shown below.
The Materials list will be now populated. If you had this screen already open, you will need to refresh.

Populating Jobman’s Catalogue from Cabinet Vision data
This is considered an advanced procedure, and is not supported by Jobman. It can, however, save time creating your Catalogue if done correctly.
You will need some freeware, such as MDB viewer Plus (http://www.alexnolan.net/software/mdb_viewer_plus.htm), and proficiency with Excel.
- Open Cabinet Vision’s Report.MDB with MDB viewer Plus and navigate to the CXMaterialsColumn.
- Export to Excel and change the .txt extension to .csv.
- Open the .csv file and remove the data you do not need, then format the remaining data for importing into Jobman, using the guidelines found here: https://docs.jobmanapp.com/article/167-importing-catalogue-items