


Back to: Complete Jobman Set-Up Guide for Administrators
Set up your catalogue materials with minimum stock quantities for streamlined reordering of stock when your inventory is low!
Setting Minimum Stock Quantities and Reorder Quantities for Catalogue Materials
To set minimum stock and reorder quantities for your catalogue materials, follow these steps:
- From the User Menu Panel, navigate to Catalogue > Materials.
- Create a new material, or click into an existing material to update.
- There will be a section in the create/update material form that looks like this:
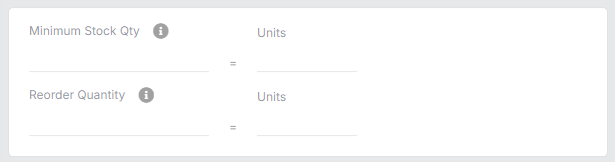
- Enter a Minimum Stock Qty. This is the quantity that you want to have in your inventory at all times. If your inventory drops below this quantity, this material will be automatically added to your pending items for purchase ordering.
- Enter a Reorder Quantity if desired. This is the quantity that will be added to pending items for purchase ordering when your inventory drops below the minimum stock quantity.
- Click Save Changes.
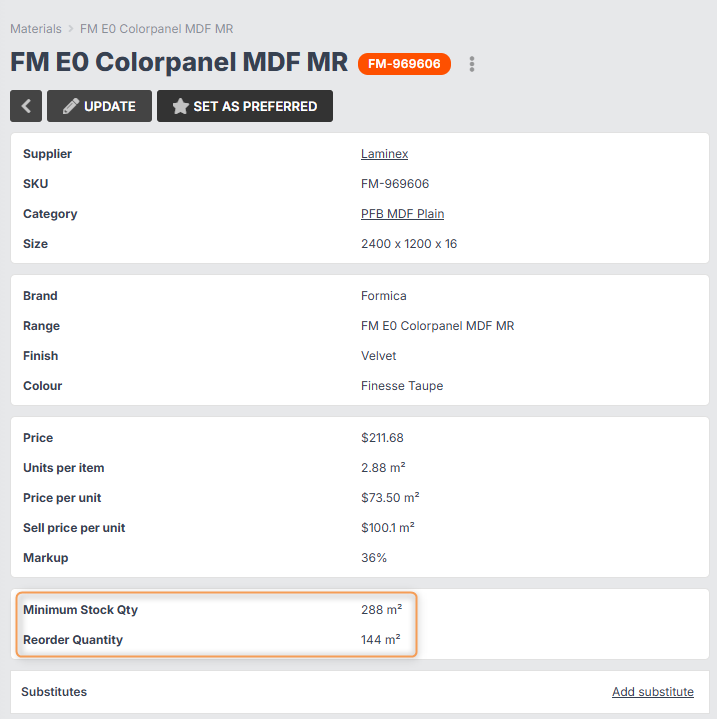
You will now be able to see minimum stock and reorder quantities in the material summary:
Please Note:
- Minimum stock quantities and reorder quantities are both optional settings when creating catalogue materials.
- If you wish to set up minimum stock quantities, you do not need to set up reorder quantities to take advantage of this feature.
Viewing Low-Stock Materials in Pending Items
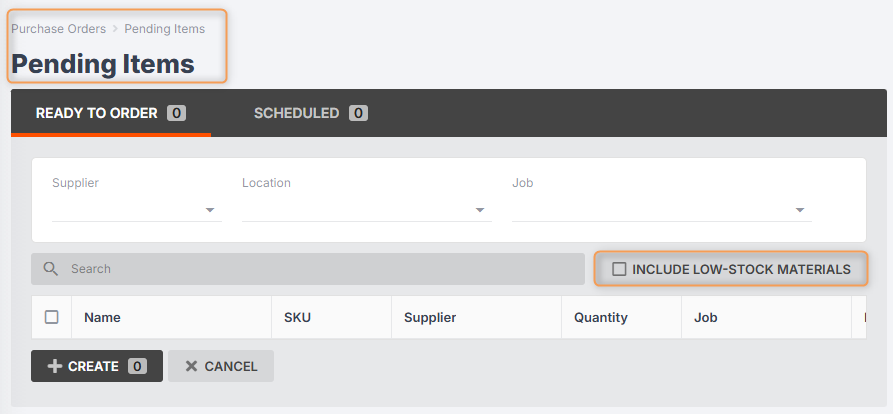
Once you have added minimum stock quantities to your materials, you will see a tickbox in Purchase Orders > Pending Items:
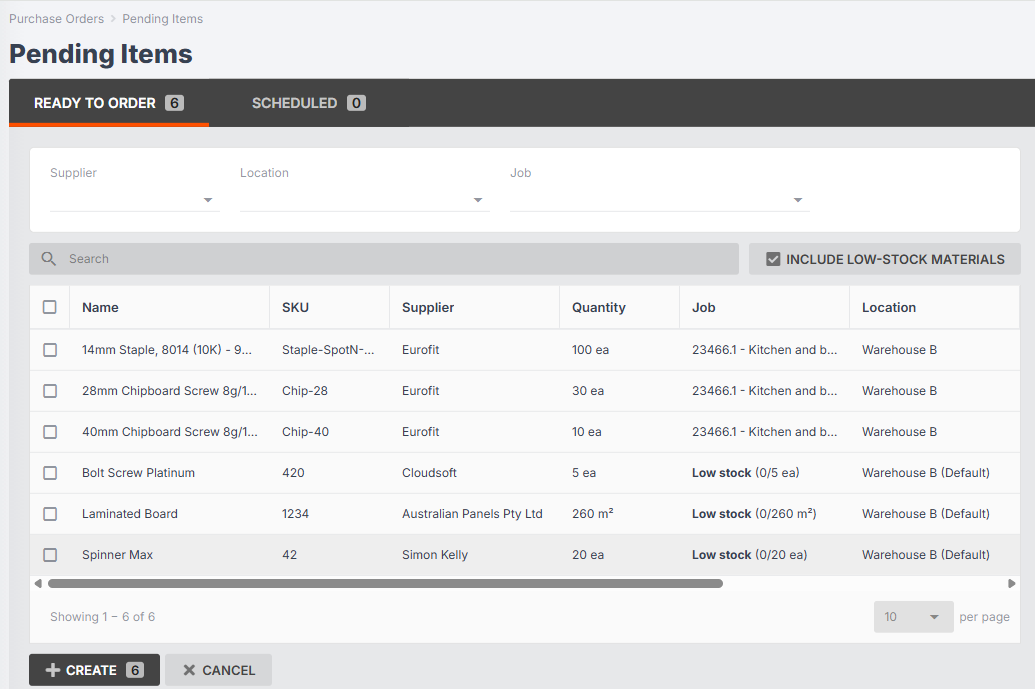
Note: Low-stock items will be automatically added to your pending list with your default location set for delivery.
You can then select these items and create a purchase order as you normally would!
Key Information
- A material can only be added to pending items as a low-stock item if it has a supplier, SKU, and minimum stock quantity set. If any of this information is missing from Catalogue > Materials, Jobman will be unable to calculate the total quantity of this item to see if it needs reordering.
- A material will only be added as a low-stock item if the total stock in inventory and stock in transit combined is less than the minimum stock quantity.
- Stock in inventory is the total sum of active (not deleted) inventory item units that:
– Have a matching SKU and supplier
– Are not assigned to jobs
- Stock in transit is the total sum of un-received purchase order item units that:
– Have a matching SKU and supplier
– Are not assigned to jobs
– Are listed on an active (not deleted) purchase order in a status that can be received
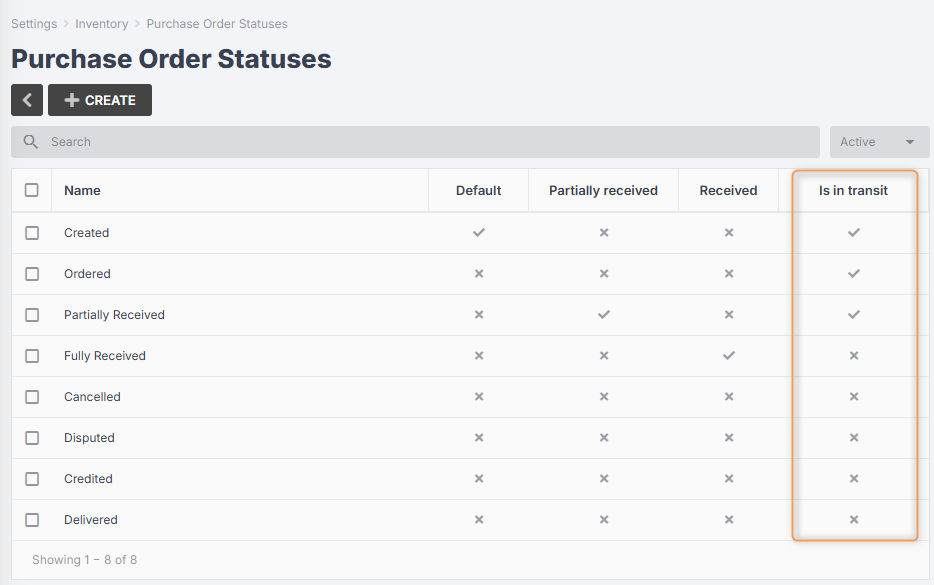
– To view which of your purchase order statuses are considered in transit, go to Settings > Inventory > Purchase Order Statuses:
(Note: You cannot edit whether a purchase order status is considered in transit or not.)
Example:
Your minimum stock quantity for “16mm Black Melamine” is 100 sheets. In your inventory, you have 46 sheets that are not assigned to jobs. You have a PO for 20 sheets that is in the ordered status, and a PO for another 20 sheets that is in the partially ordered status. The total number of sheets in stock/transit is 86 – which is less than your minimum stock quantity.
If you go to Purchase Orders > Pending Items and enable Include Low-Stock Materials, you will see that “16mm Black Melamine” has been added to the list for reordering.
- You can hover over the low stock label in your pending items to view a summary of how much stock is currently in inventory vs in transit:

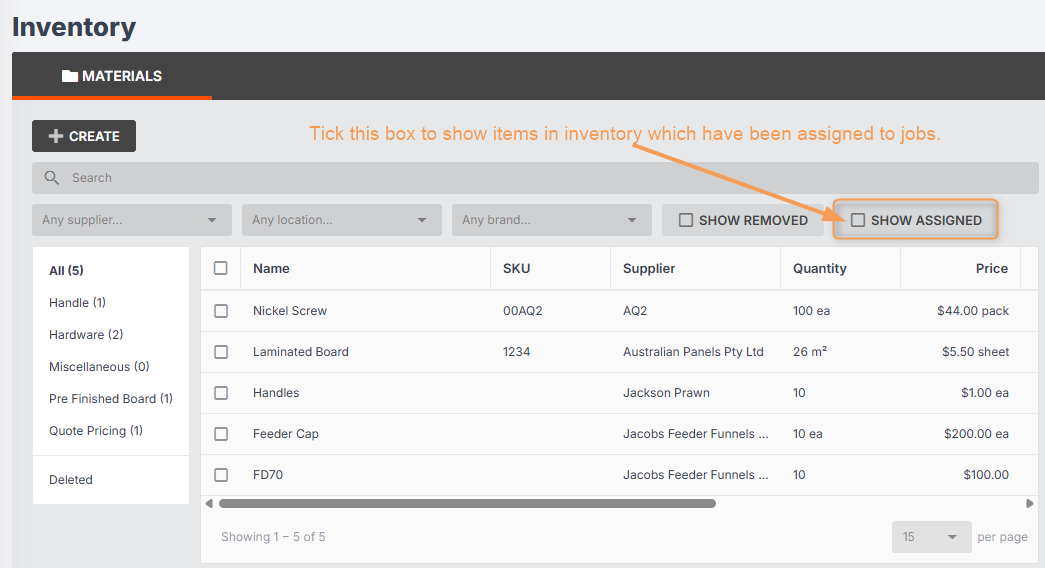
- You can show/hide assigned inventory items to easily view your stock in inventory:
- Setting a reorder quantity for your materials is optional.
- When a low-stock item is added to pending items, the order quantity will be set to whatever is required to reach the minimum stock quantity. However, if you have a reorder quantity set, and it is a higher quantity, this will be used instead.
Examples:
- You have a material with a minimum stock quantity of 100 sqm, and no reorder quantity set. You have 20 sqm in stock, and 10 sqm in transit. When you go to pending items and enable include low-stock materials, you will see this material has been added with a quantity of 70 sqm.
- You have a material with a minimum stock quantity of 100 sqm and a reorder quantity of 50 sqm. You have 30 sqm in stock/transit, meaning you need another 70 sqm. When you go to pending items, you will see this material added with a quantity of 70 sqm.
- You have a material with a minimum stock quantity of 100 sqm and a reorder quantity of 50 sqm. You have 70 sqm in stock/transit, meaning you need another 30 sqm. When you go to pending items, you will see this material added with a quantity of 50 sqm, as per the reorder settings.