Back to: Complete Jobman Set-Up Guide for Administrators
Creating a New Staff Member
Adding staff members can be done in one of three ways:
- Adding them manually
- Importing from a spreadsheet
- Syncing with your accounting software (this will happen automatically if you have enabled it during your accounting integration set-up)
Please note: You cannot add or edit staff without assigning a Staff Type, i.e. assigning either an Office or a Kiosk license to a user. Once you have reached your license limit, you will not be able to add any more staff members without purchasing additional licenses.
Also note: It is very important that you make sure each staff member’s timezone has been set correctly, as this will affect certain actions/events, e.g. calendar display, logged activities, timesheet entries, etc.
Manually Adding a Staff Member:
- From the User Menu Panel, navigate to Staff.
- Click Create.
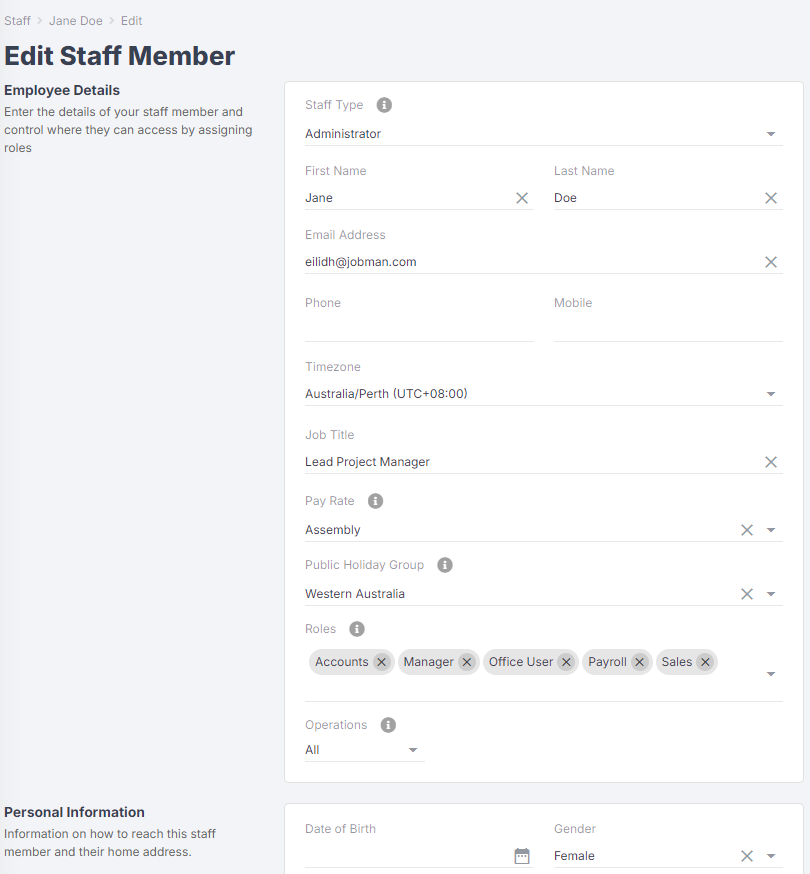
- Fill out the employee details as required.
- (Office Users Only) Once you’ve entered an email address, a checkbox option will appear. Invite them to log in.
- Click Create.
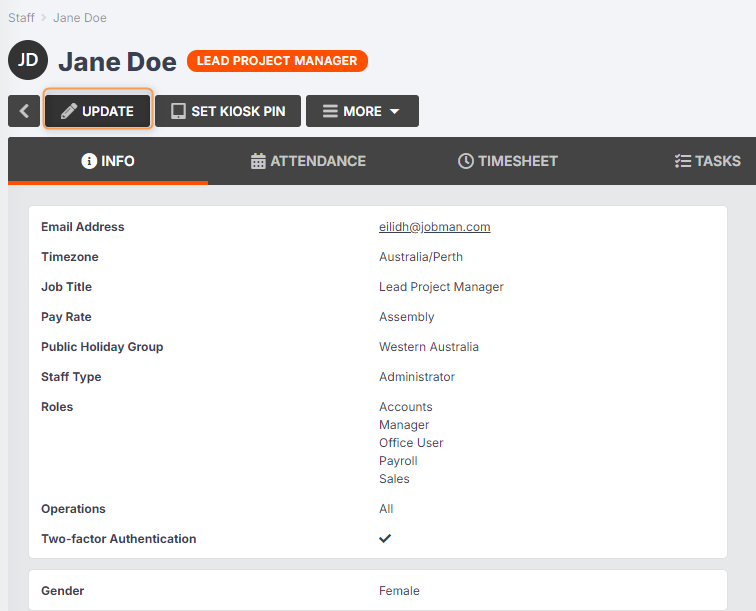
You will then be taken to the Staff Member Summary, where you can edit further if required.

Important: Make sure your staff member is assigned the correct role, so that they have the necessary permissions to use their account.
Importing Staff from a Spreadsheet
Please note: You are able to import multiple staff – however, you cannot add or edit staff without assigning a staff type, i.e. assigning either an Office or a Kiosk license to a user. Once you have reached your license limit, you will not be able to add more staff without purchasing additional licenses.
Importing Staff Members
- From the User Menu Panel, navigate to Staff > Import.
- Click Create, then download the sample CSV.
- Once the file has downloaded, open it and add your data.
- Save the file and Upload.
- Click Create, then Start.
Once the import is completed, you will see a summary.

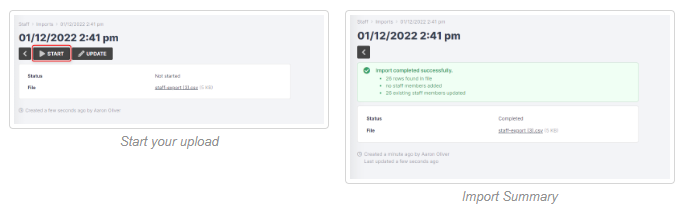
Import Errors: Your import summary will identify any errors in uploading your staff list. If you see an error, click Update, amend your file, and start the import again.
Updating a Staff Member
Depending on your staff role permissions, you can update your own staff member profile, or other staff members’ profiles.
Note: When updating a staff member from the Staff tab, you will be able to add and update a wider range of details (including Personal Information and Emergency Contact) than if you are simply clicking into your own profile at the top-left and updating it.
You may update your own profile from the Staff tab if you wish to edit these additional details.
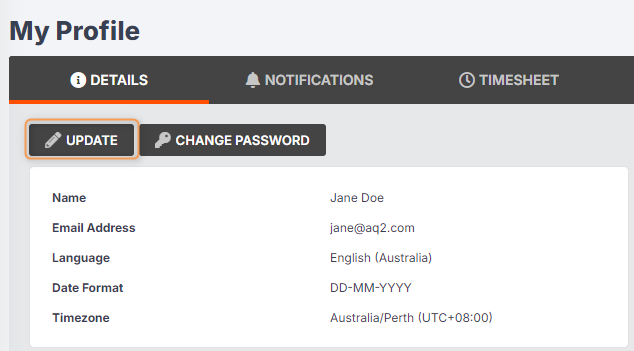
Updating Your Own Profile
If you have the permission Update profile you can edit your own profile by following these steps:
- Click on your profile at the top left of the screen.
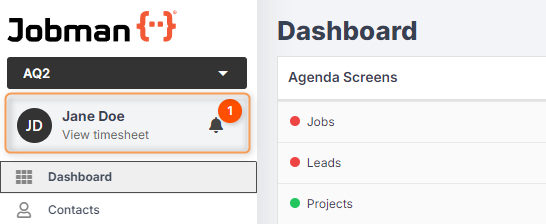
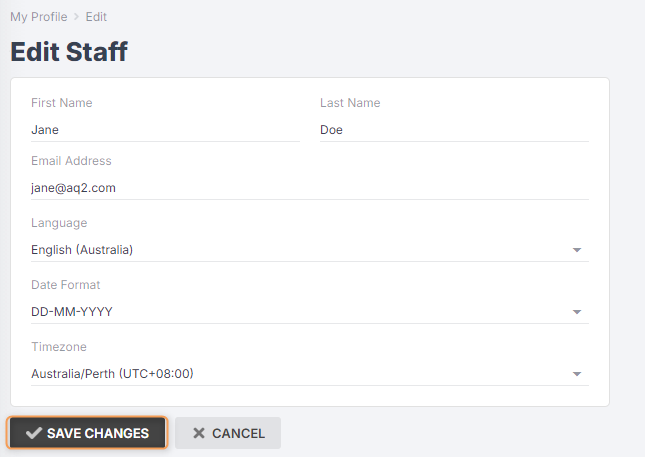
- Click Update, enter any necessary information, then Save Changes.
Updating Staff Members from the Staff Tab
If you have the permissions View staff members and Update existing staff members, you can edit other staff members’ profiles by following these steps:
- From the User Menu Panel, navigate to Staff, and click into the staff member that you want to update. (Note: You may select yourself.)
- Click Update, enter any necessary information, then Save Changes.